
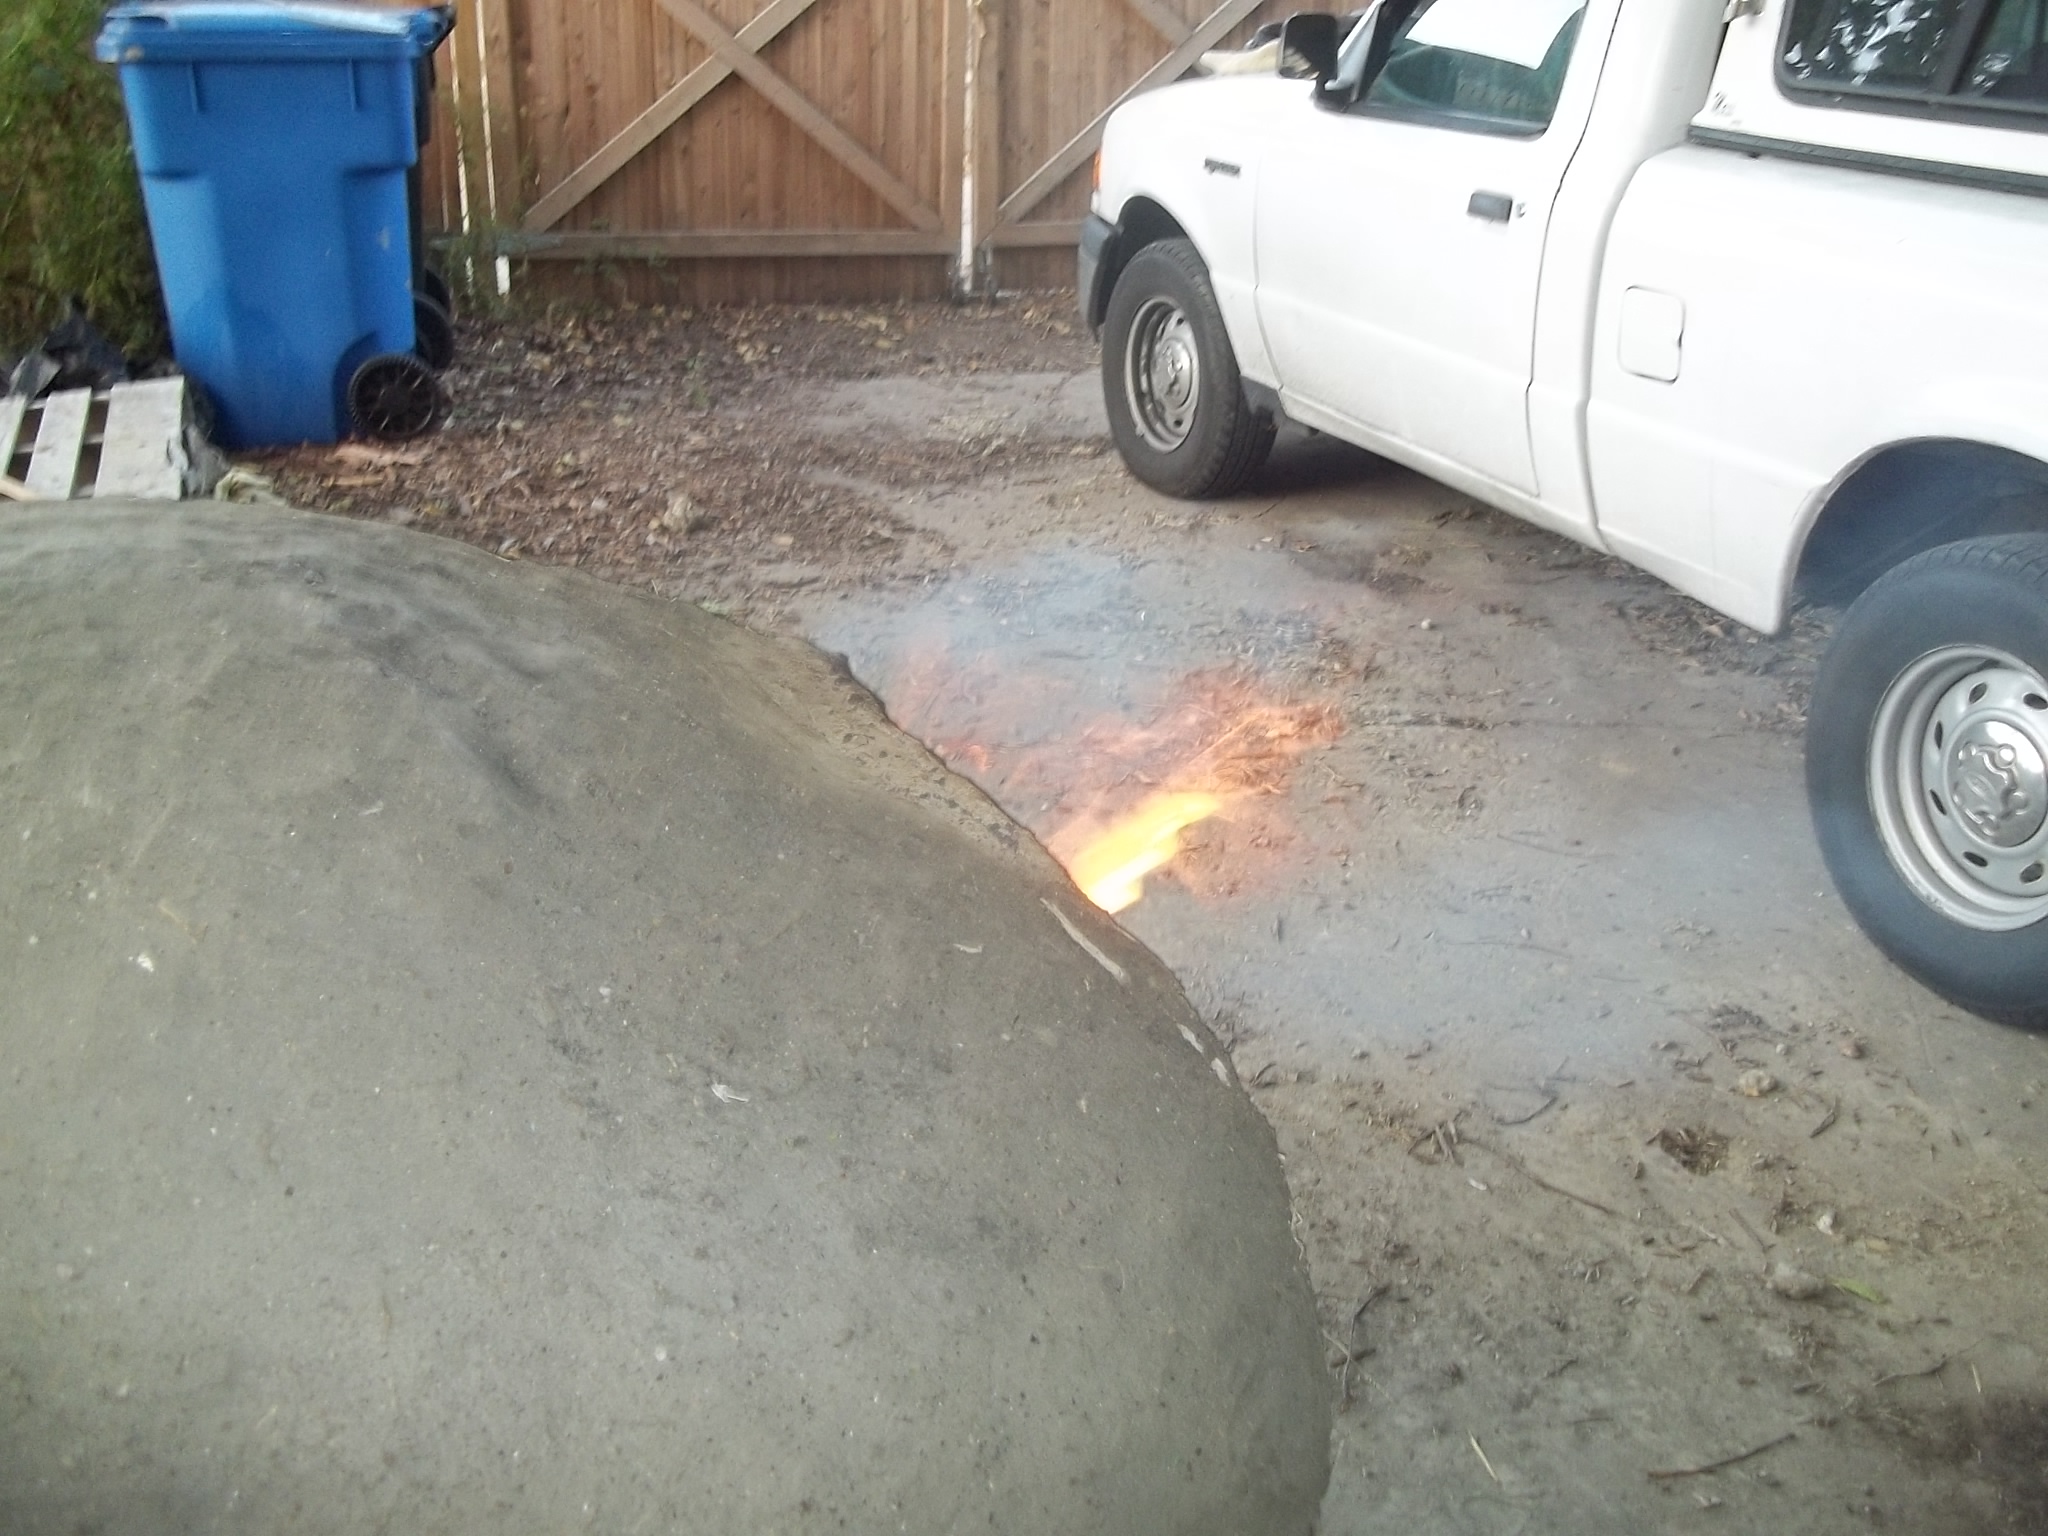
So with helpful hands from various friends, a buddy of mine and I built a cob oven. Sometime it’s called an earth oven. Think of it like a small clay cave up on a platform. You build as big of a fire in it as you can, push the embers to the back, throw something in the front and wait for it to cook. Before conventional ovens were around this is what people did whilst sitting around in the loin clothes.
Stefan, old UF pal, was the capt. of this ship. He had read (and stolen) the book from the library of how to do this and had an idea of how things were supposed to pan out. I was his trusty first mate, unless you prefer a cooking metaphor to a sailing one, whereas I was his unfailing sous chef.
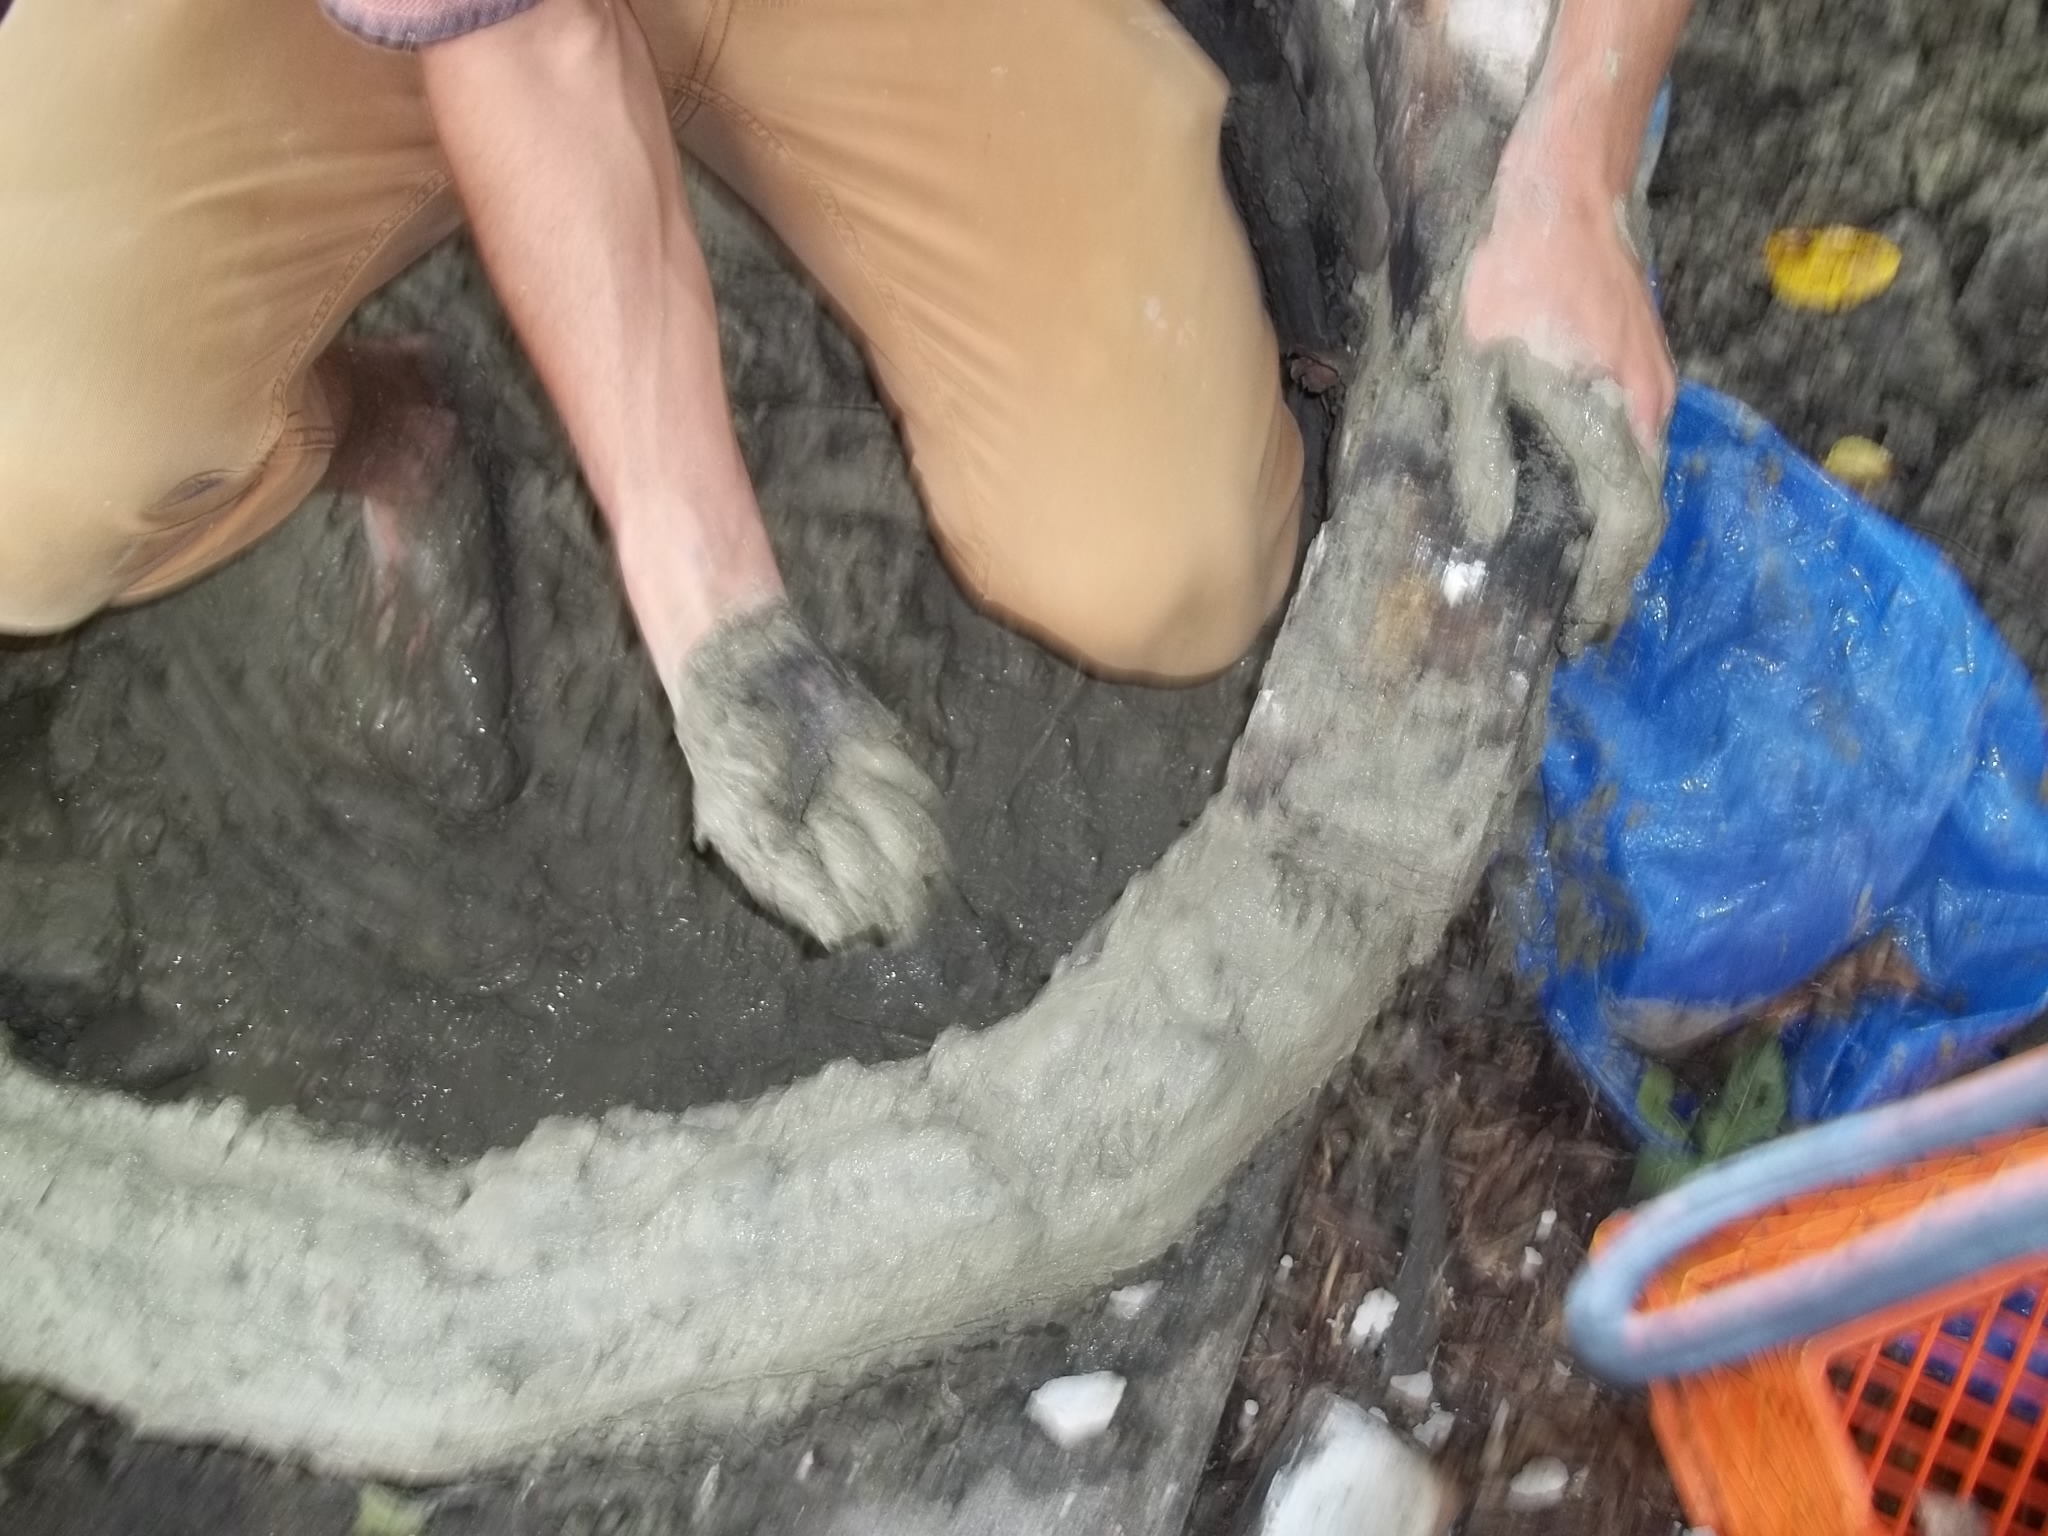
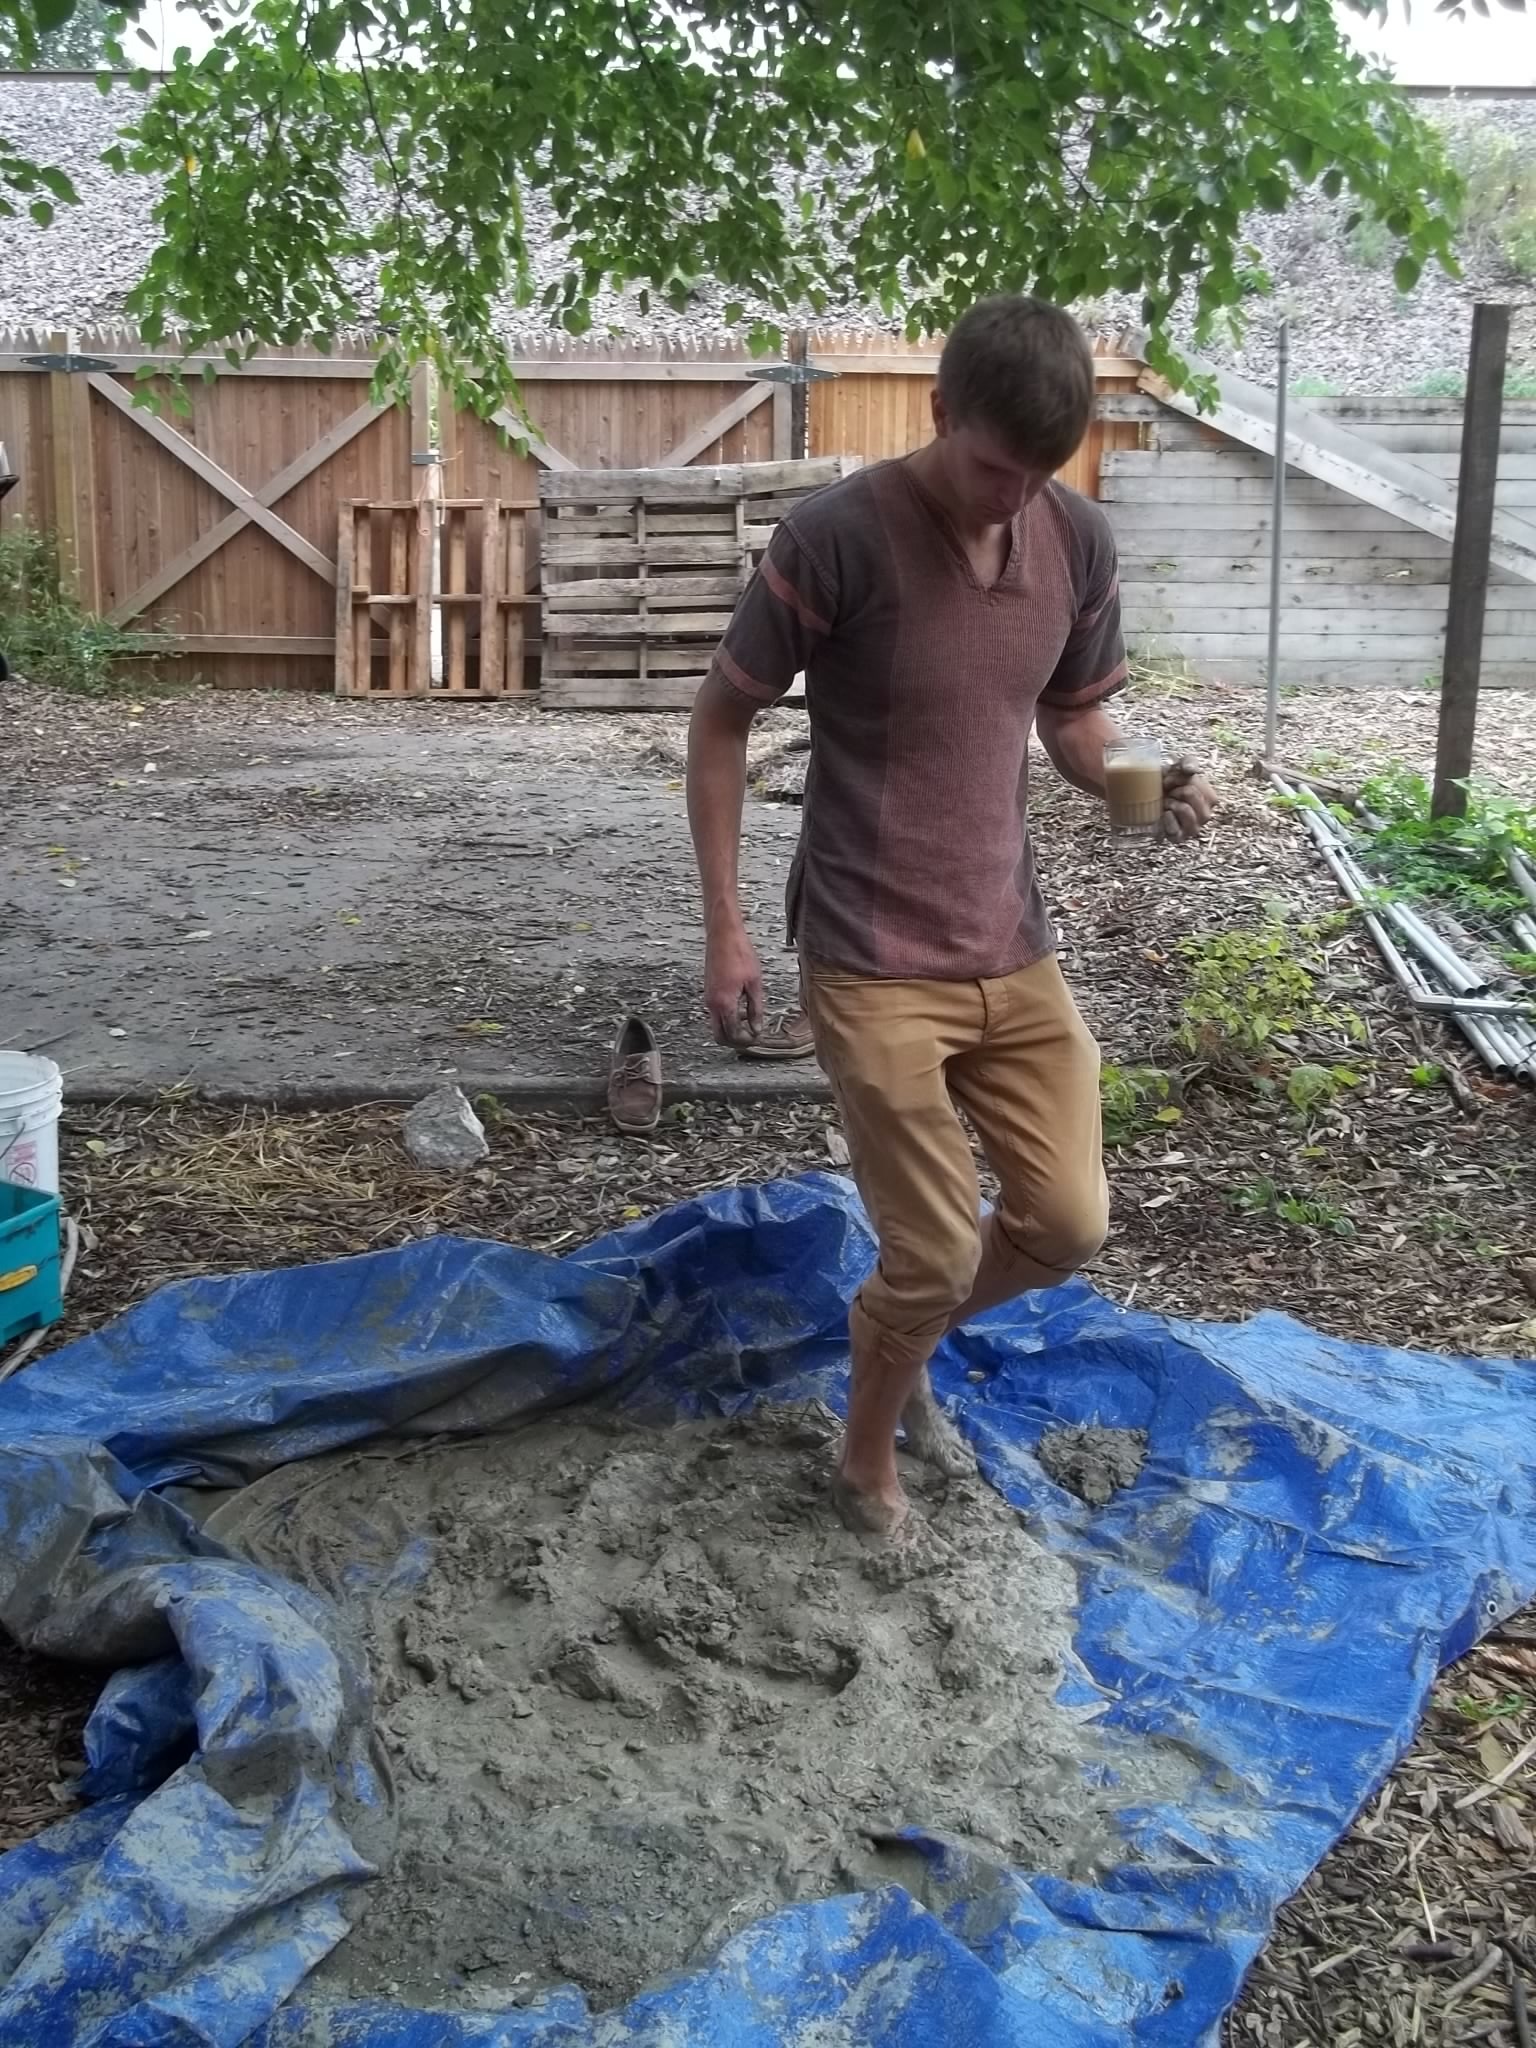 Cob is easy to make. We got some clay from a friend redoing a house. It’s pretty hard to work with at first but with it you mix sand and water, thus completing the mix. We did it over a large tarp, but I supposed there are a lot of ways to skin a cat. Pile some clay into a tarp, pour water and sand over it and begin jumping and running and stepping up and down bare-foot on this pile until you have some gloppy, yet pretty malleable mix. The book probably got into specific amounts, but in the end you have to add more sand and water than you think so just start low and move up. You want it to be pretty sticky though. You’ll know when you have it right.
We were pretty DIY about it, so I am positive you could put some money into this and make it’s appearance more presentable. We didn’t care though. Functionality or Death! we sometimes chant from rooftops. A new friend of mine Beatrice has a lot she let us build the oven on and kudos to her for being so awesome.
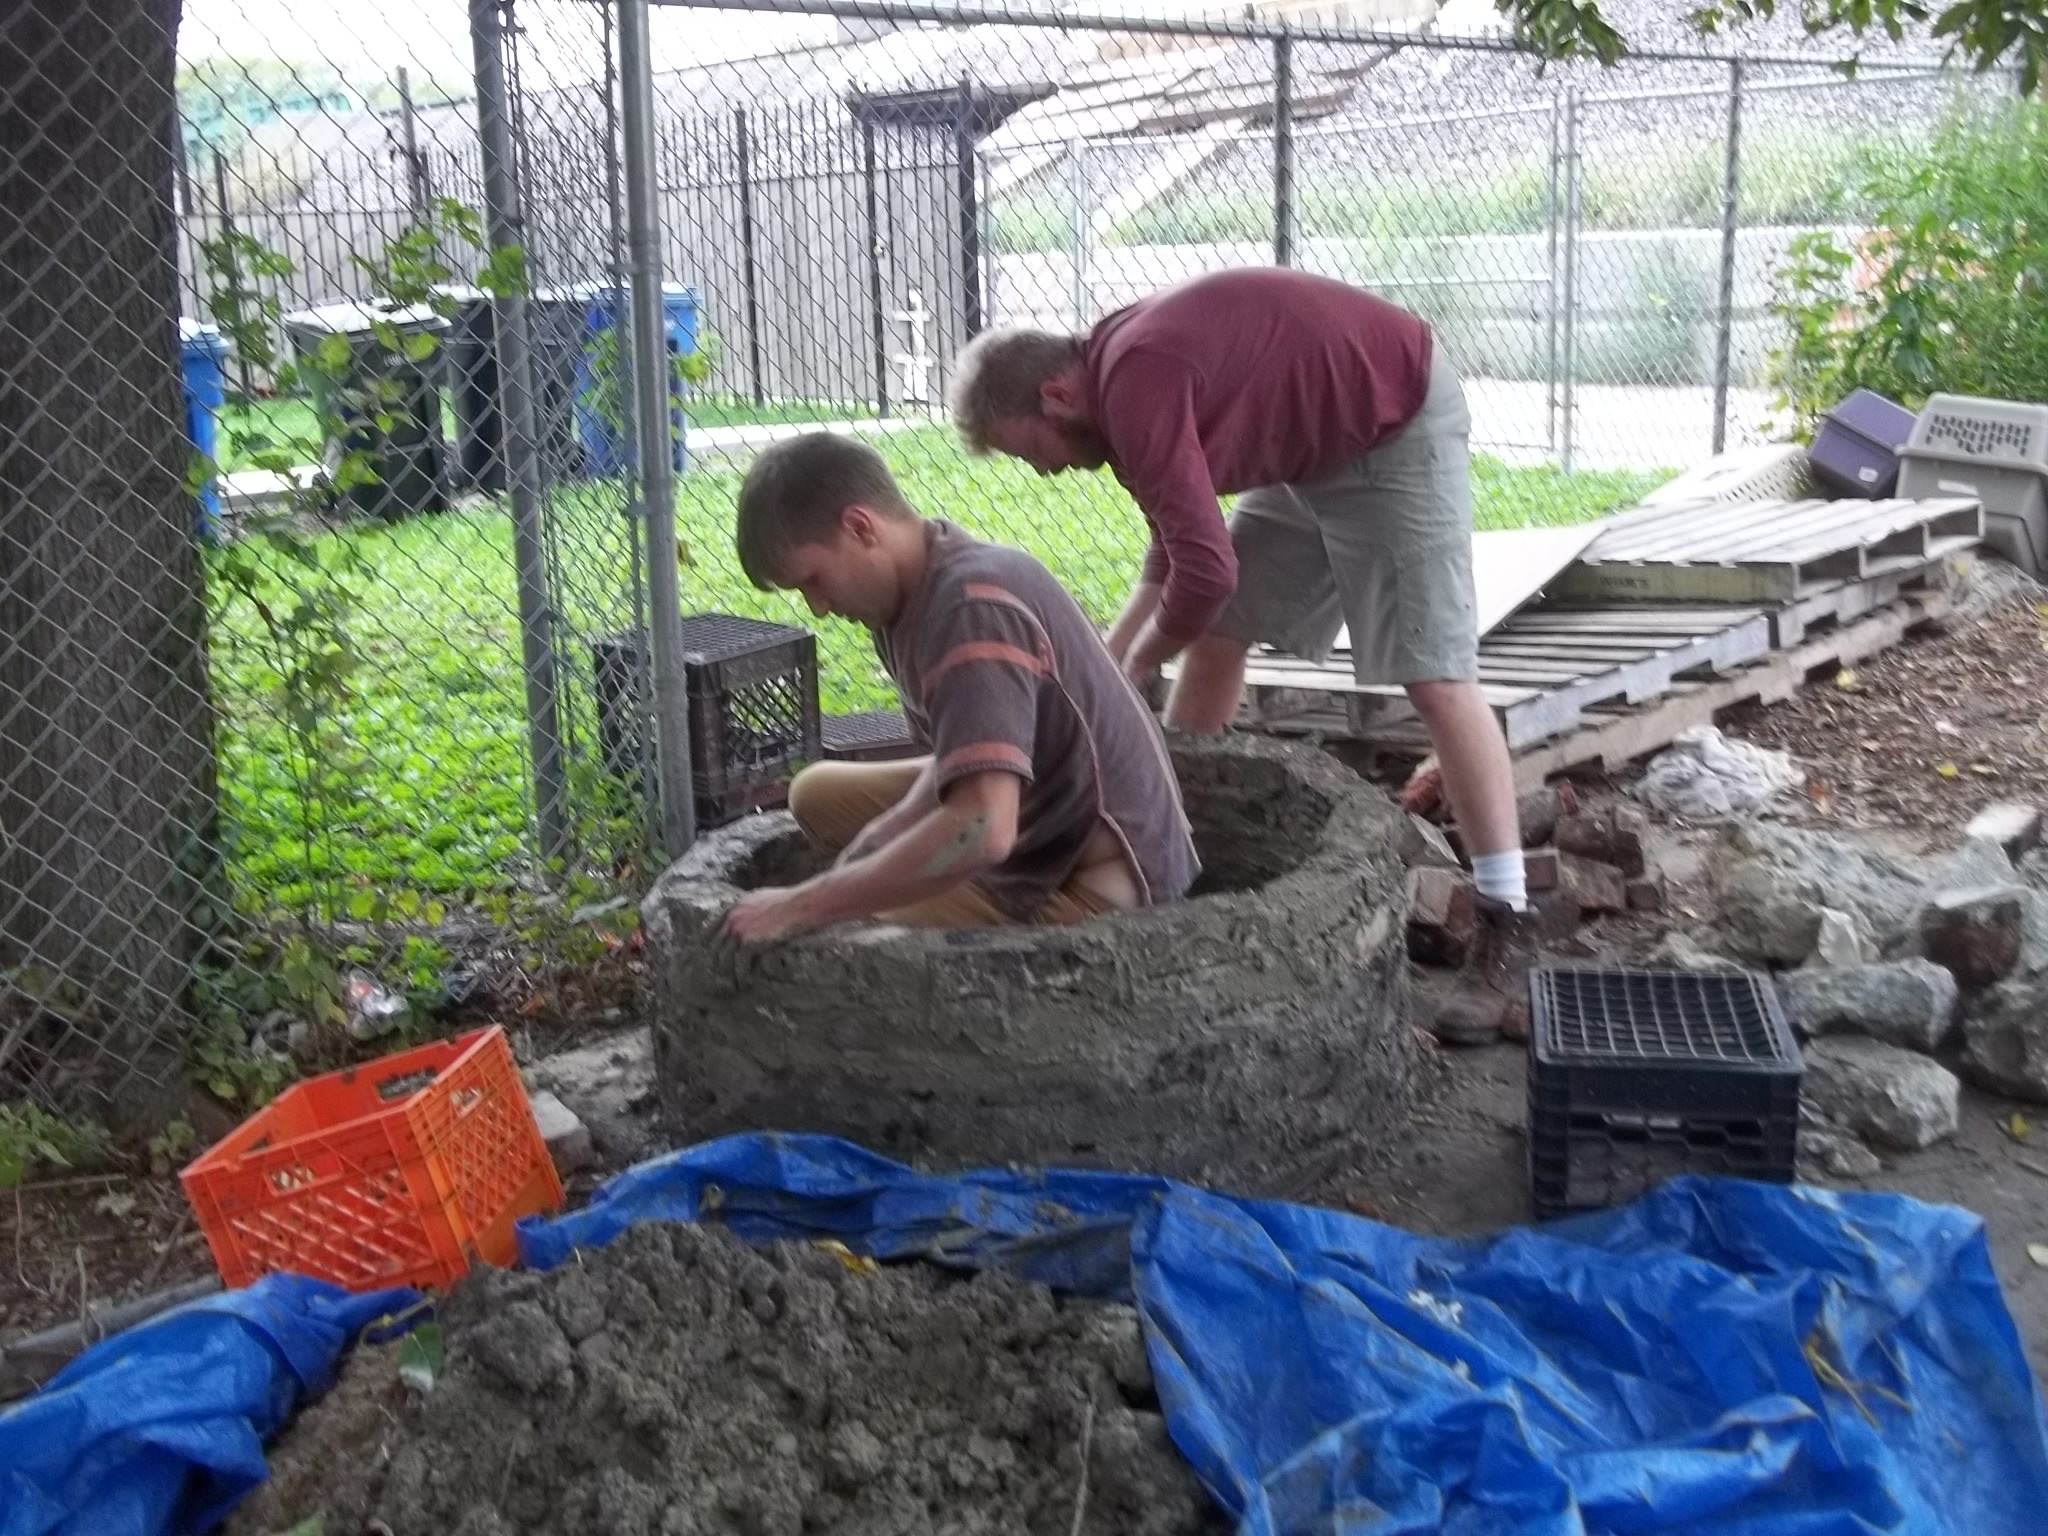
So, we need to build a brick column about 3′ in diameter and probably a little over 4′ in height. We scored some bricks from Bea’s neighbor, Todd, and in two or three sessions mixed some cob and crudely (but not too crude, mind you) built the column up. Stagger the bricks as the layers go up (rather, the next “ring” of bricks above is rotated slightly to more evenly distribute the weight) and make it as high as you like.
 Once we have the column done, the next step is filling it in and topping it off. Bea (unfortunately for her but more fortunate for us) lives about 30 yards from a train track. Why would anyone ever do that you ask. Well in Chicago, trains are everywhere through the city and someone has to live by them. Anywho, the edges of the track are littered with cement debris and the rocks that make up a railroad track. We filled the column with larger rocks and then dumped a few wheelbarrow full of small rocks to fill in the gaps, making layers of cob going up.
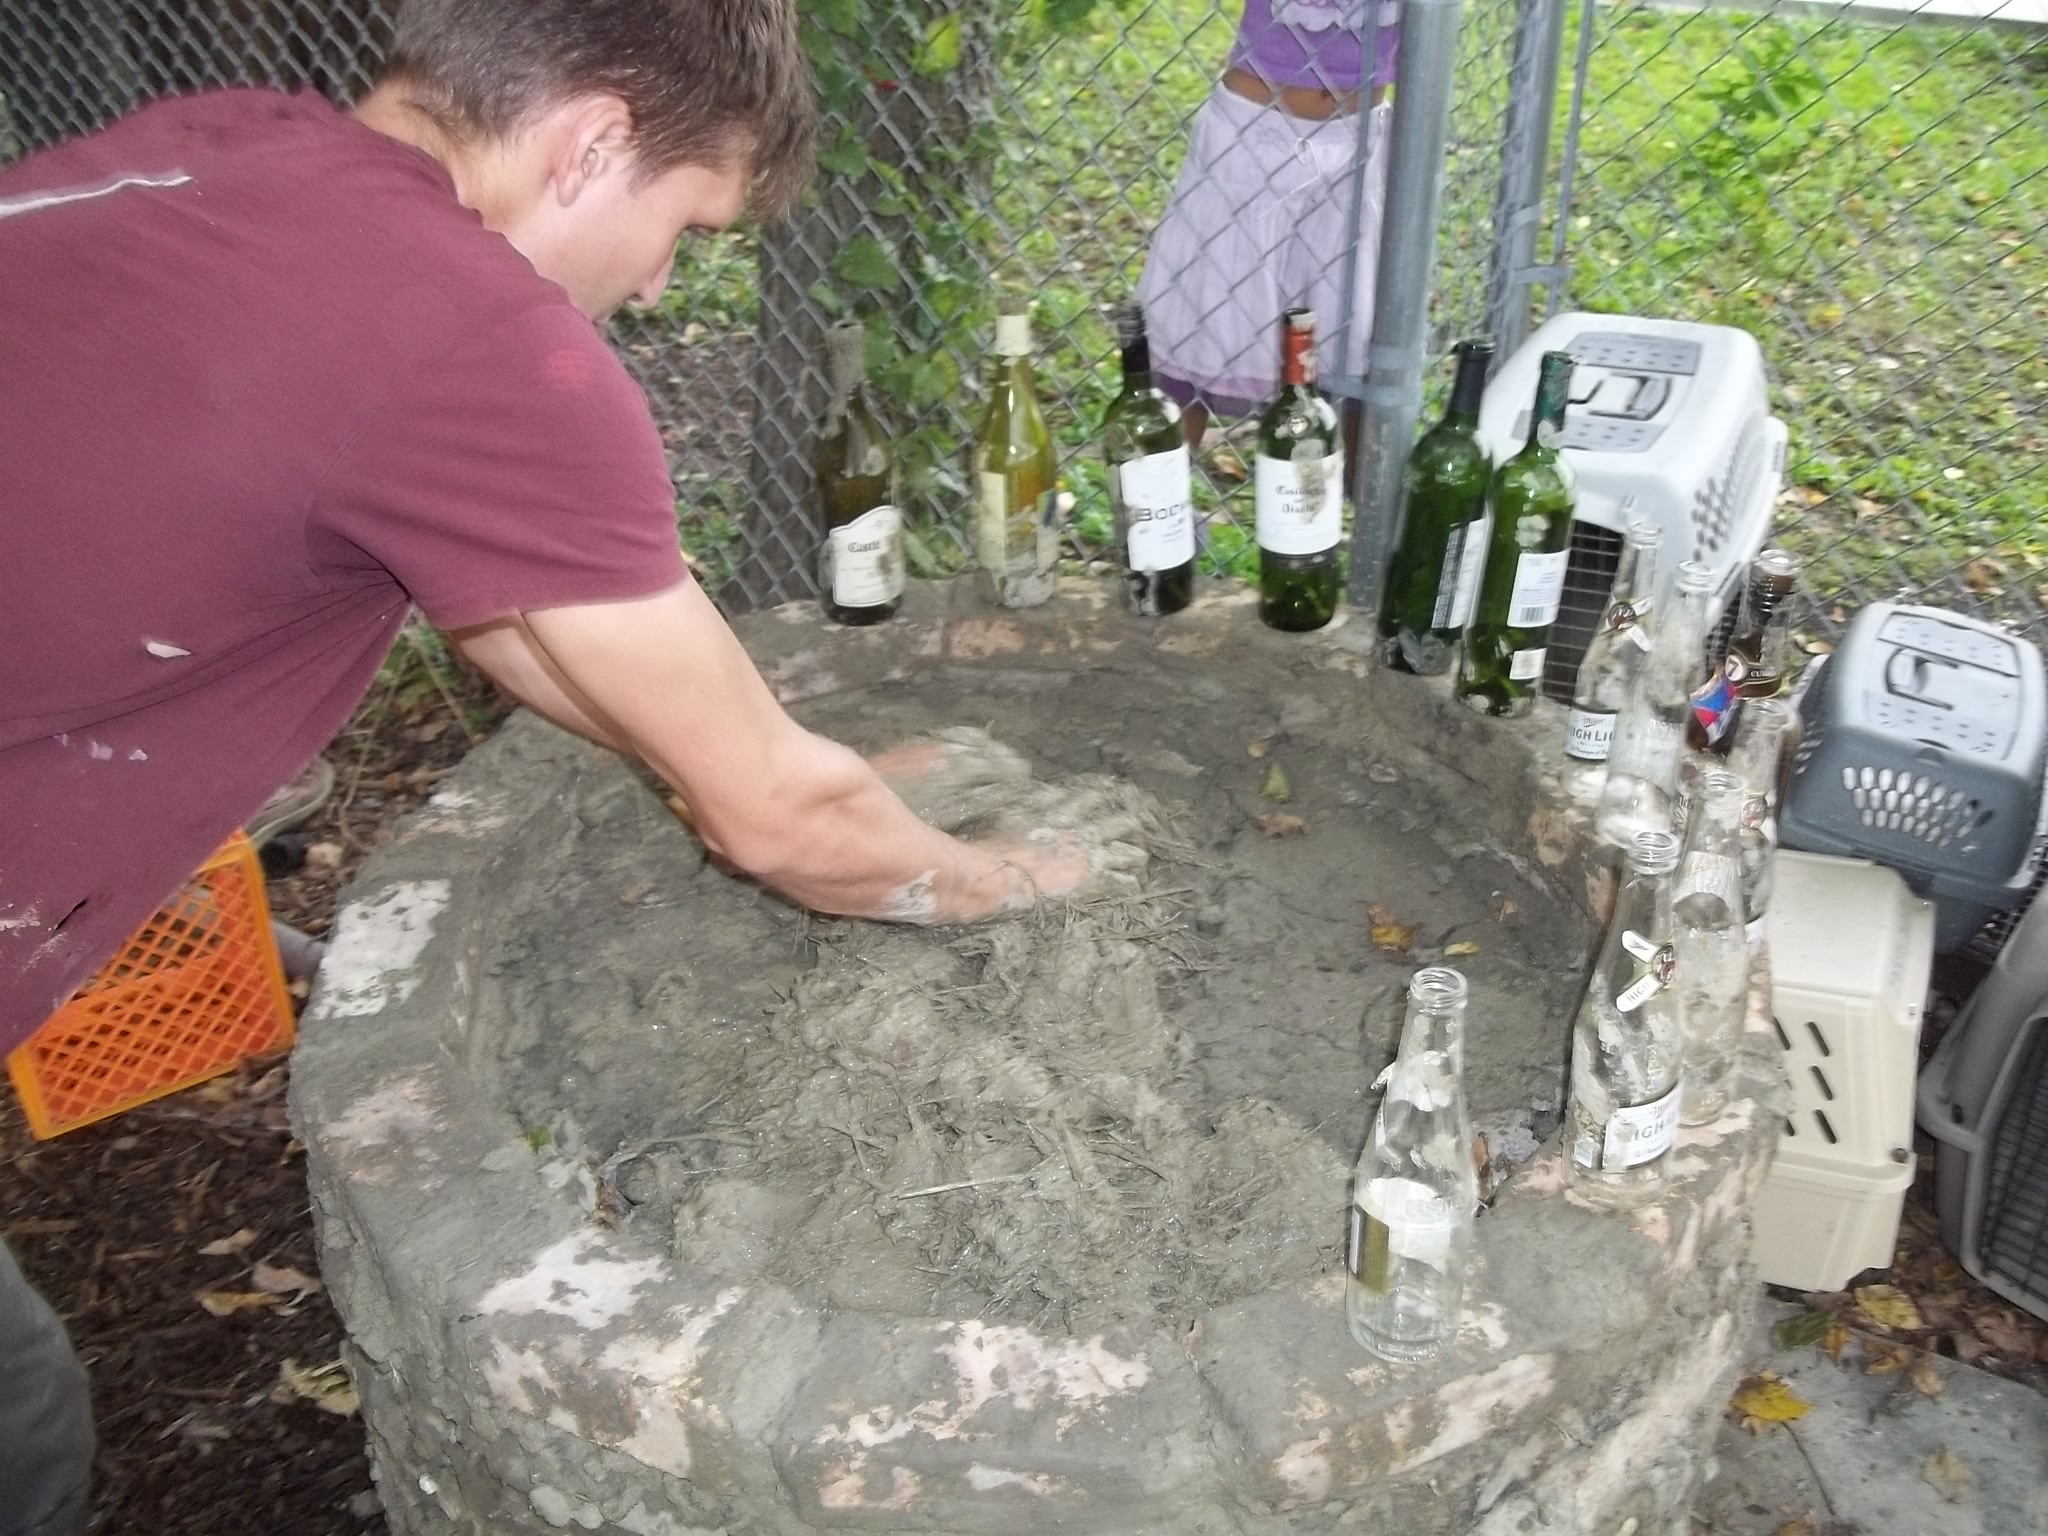
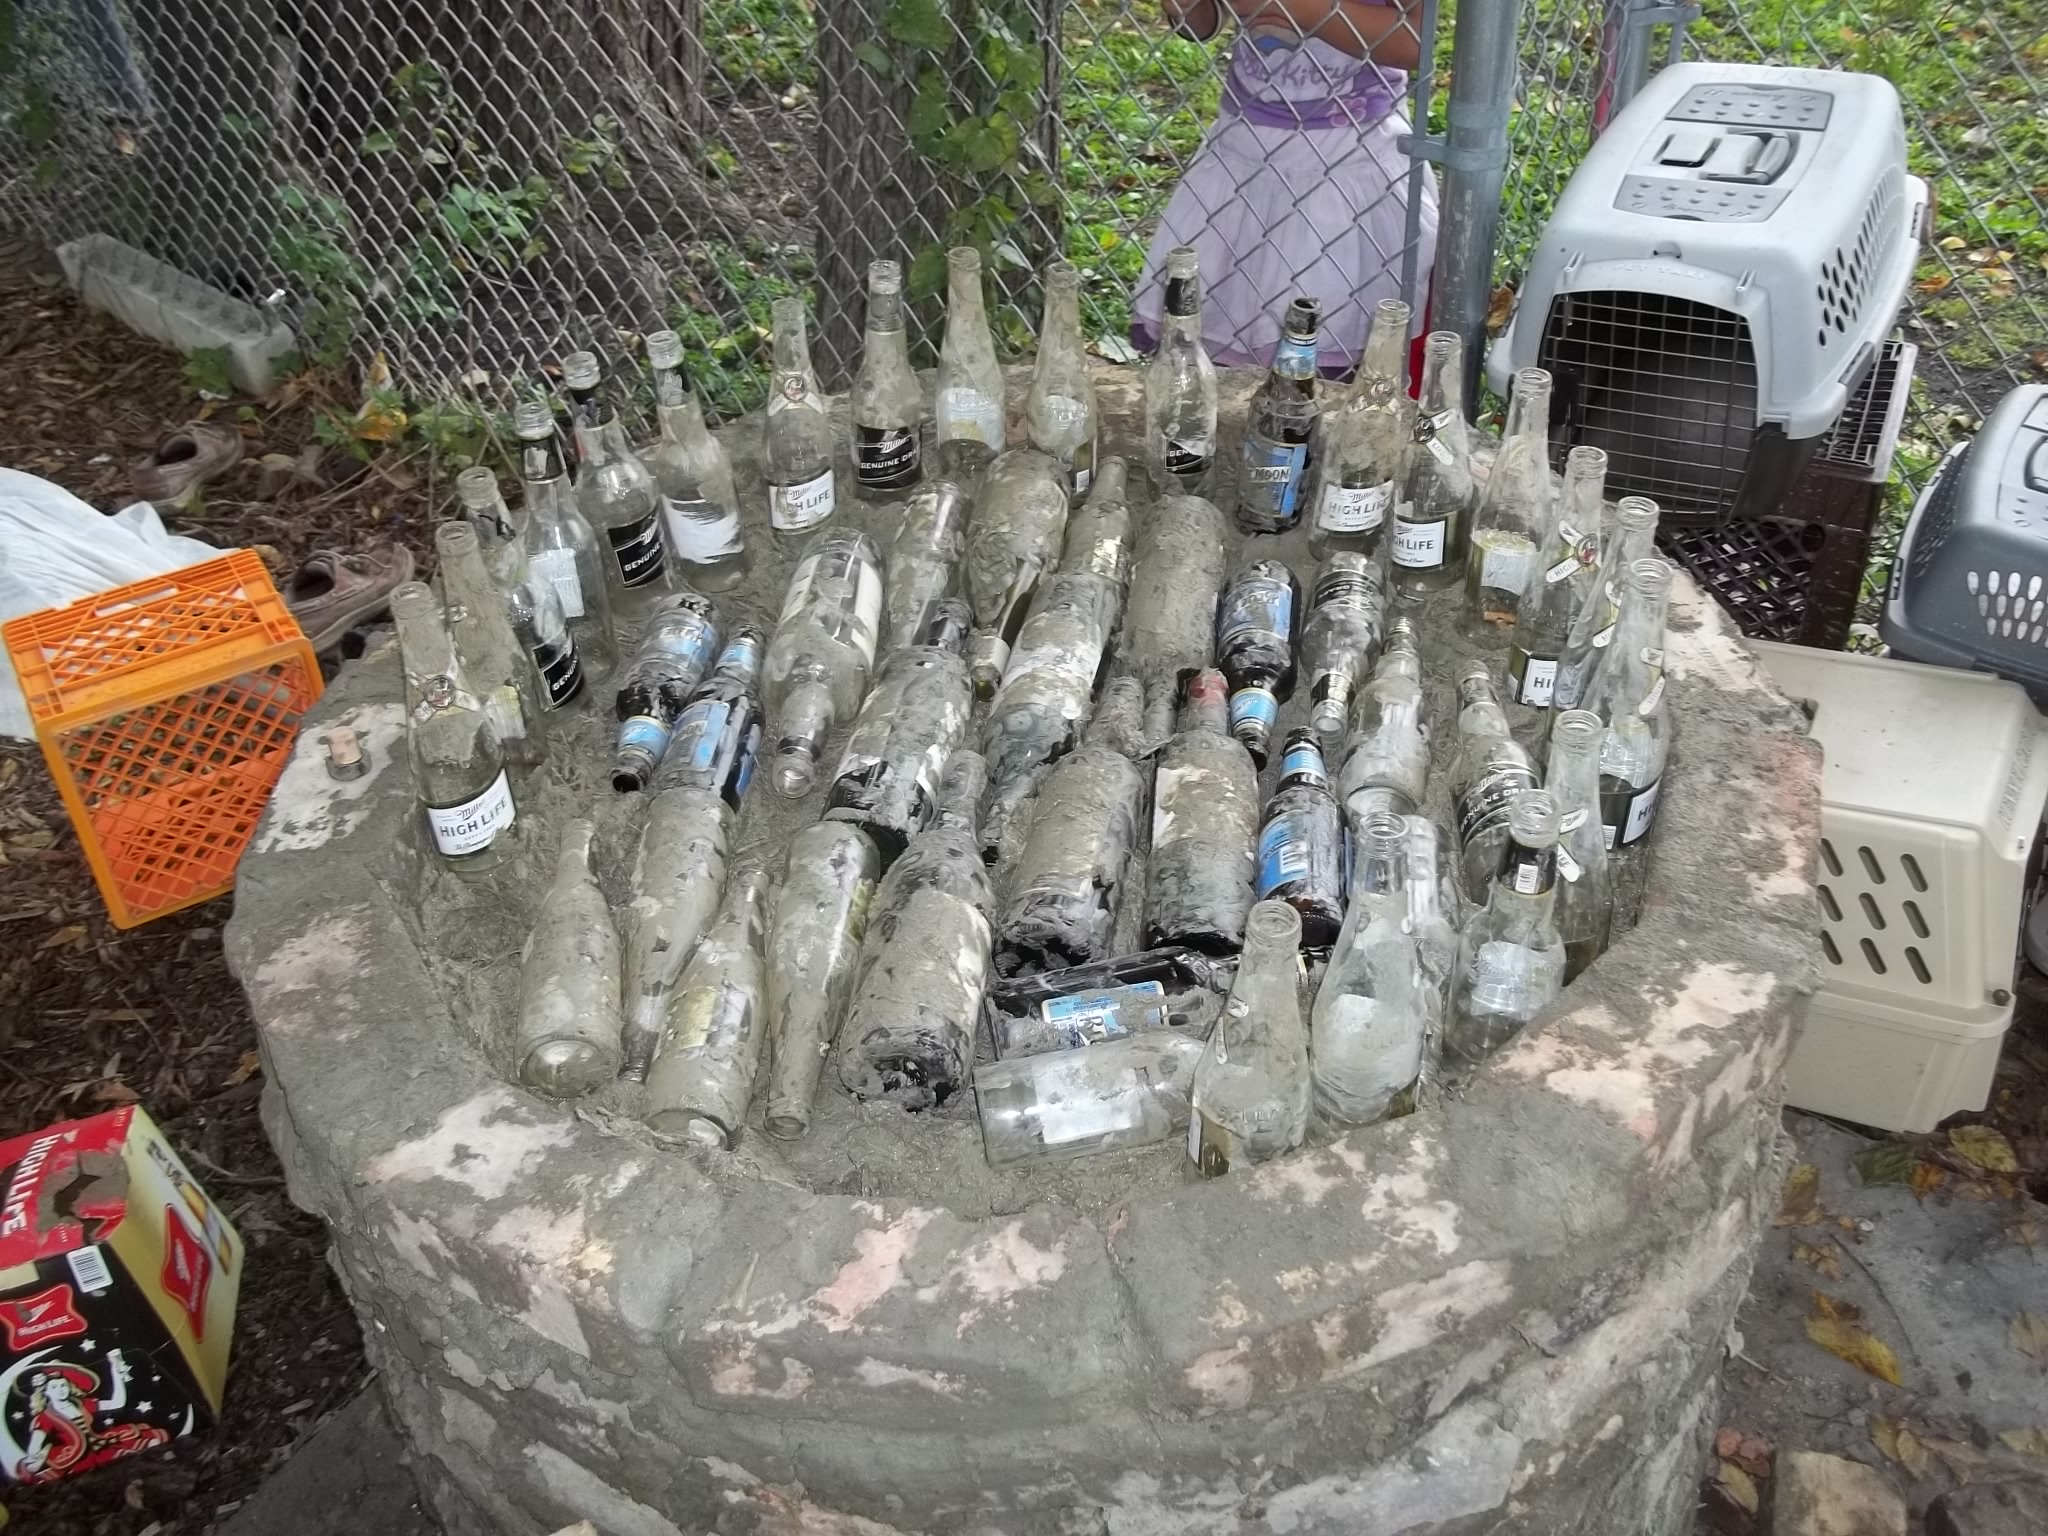
This next step was the most interesting part of the whole process to me. At the top of the column (which in turn is the bottom of the oven itself) we read it was wise to put a layer of glass bottles there, which serves as insulation while the fire is going. Because it’s a dome, the heat that shoots up out of the fire it directed back down into the column. The layer of glass bottles traps some of that heat (the air in the bottles rises in temperature). With a good layer of cob between the glass and the floor of the oven the glass will hopefully not shatter and play a solid role in keeping the oven temperature high and constant.
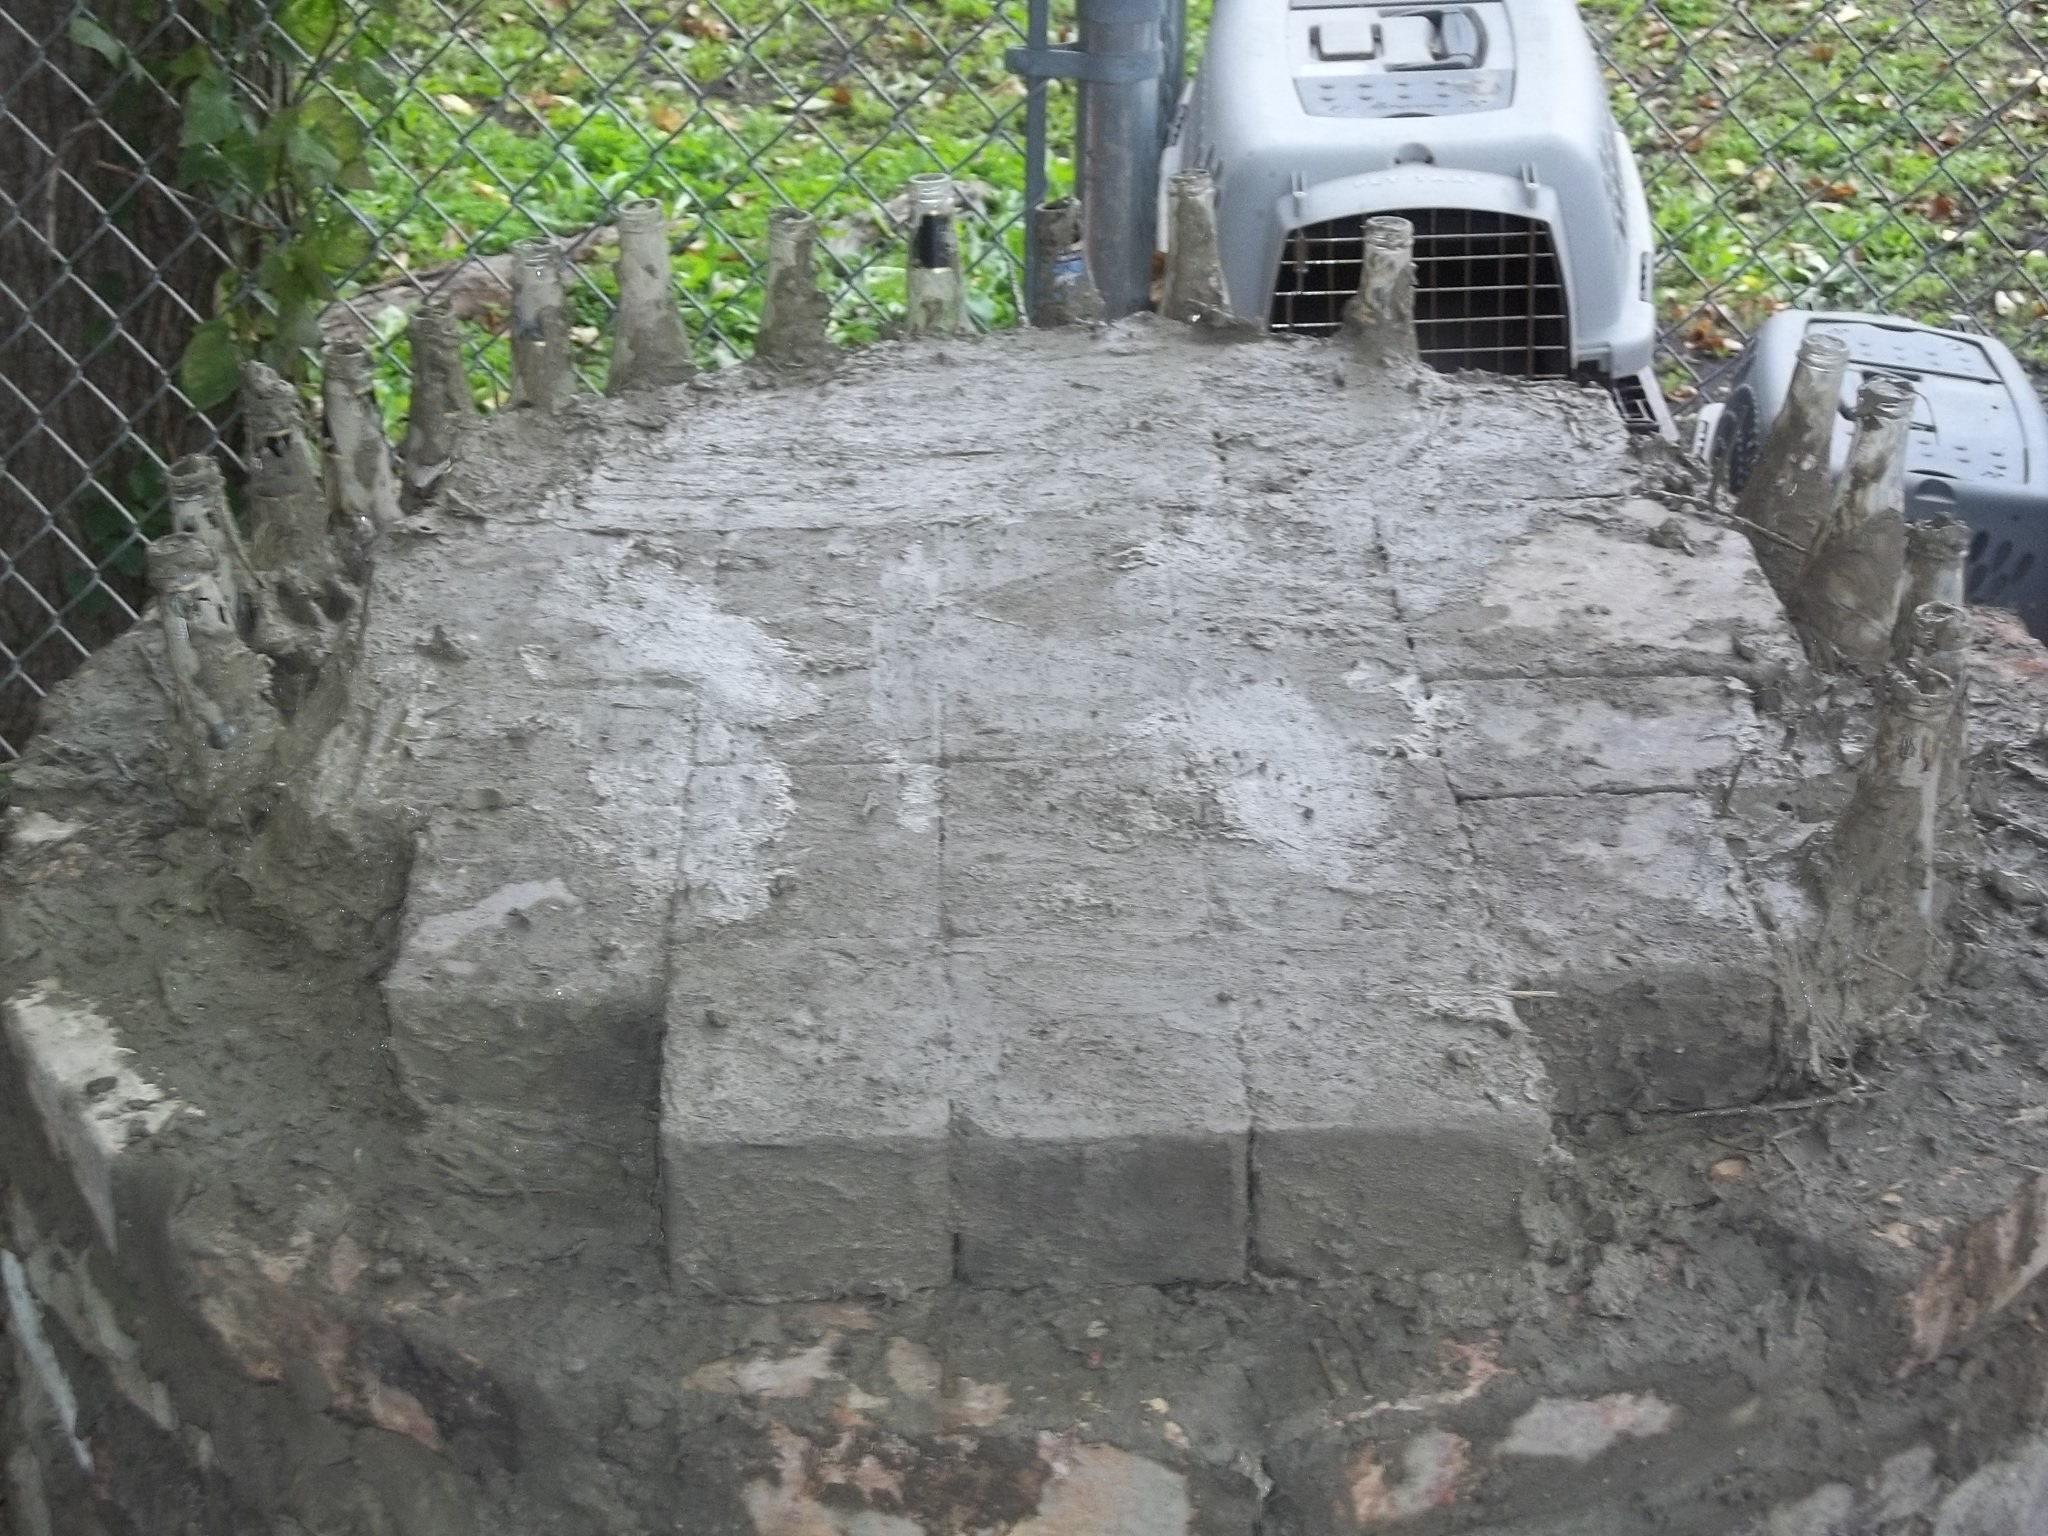

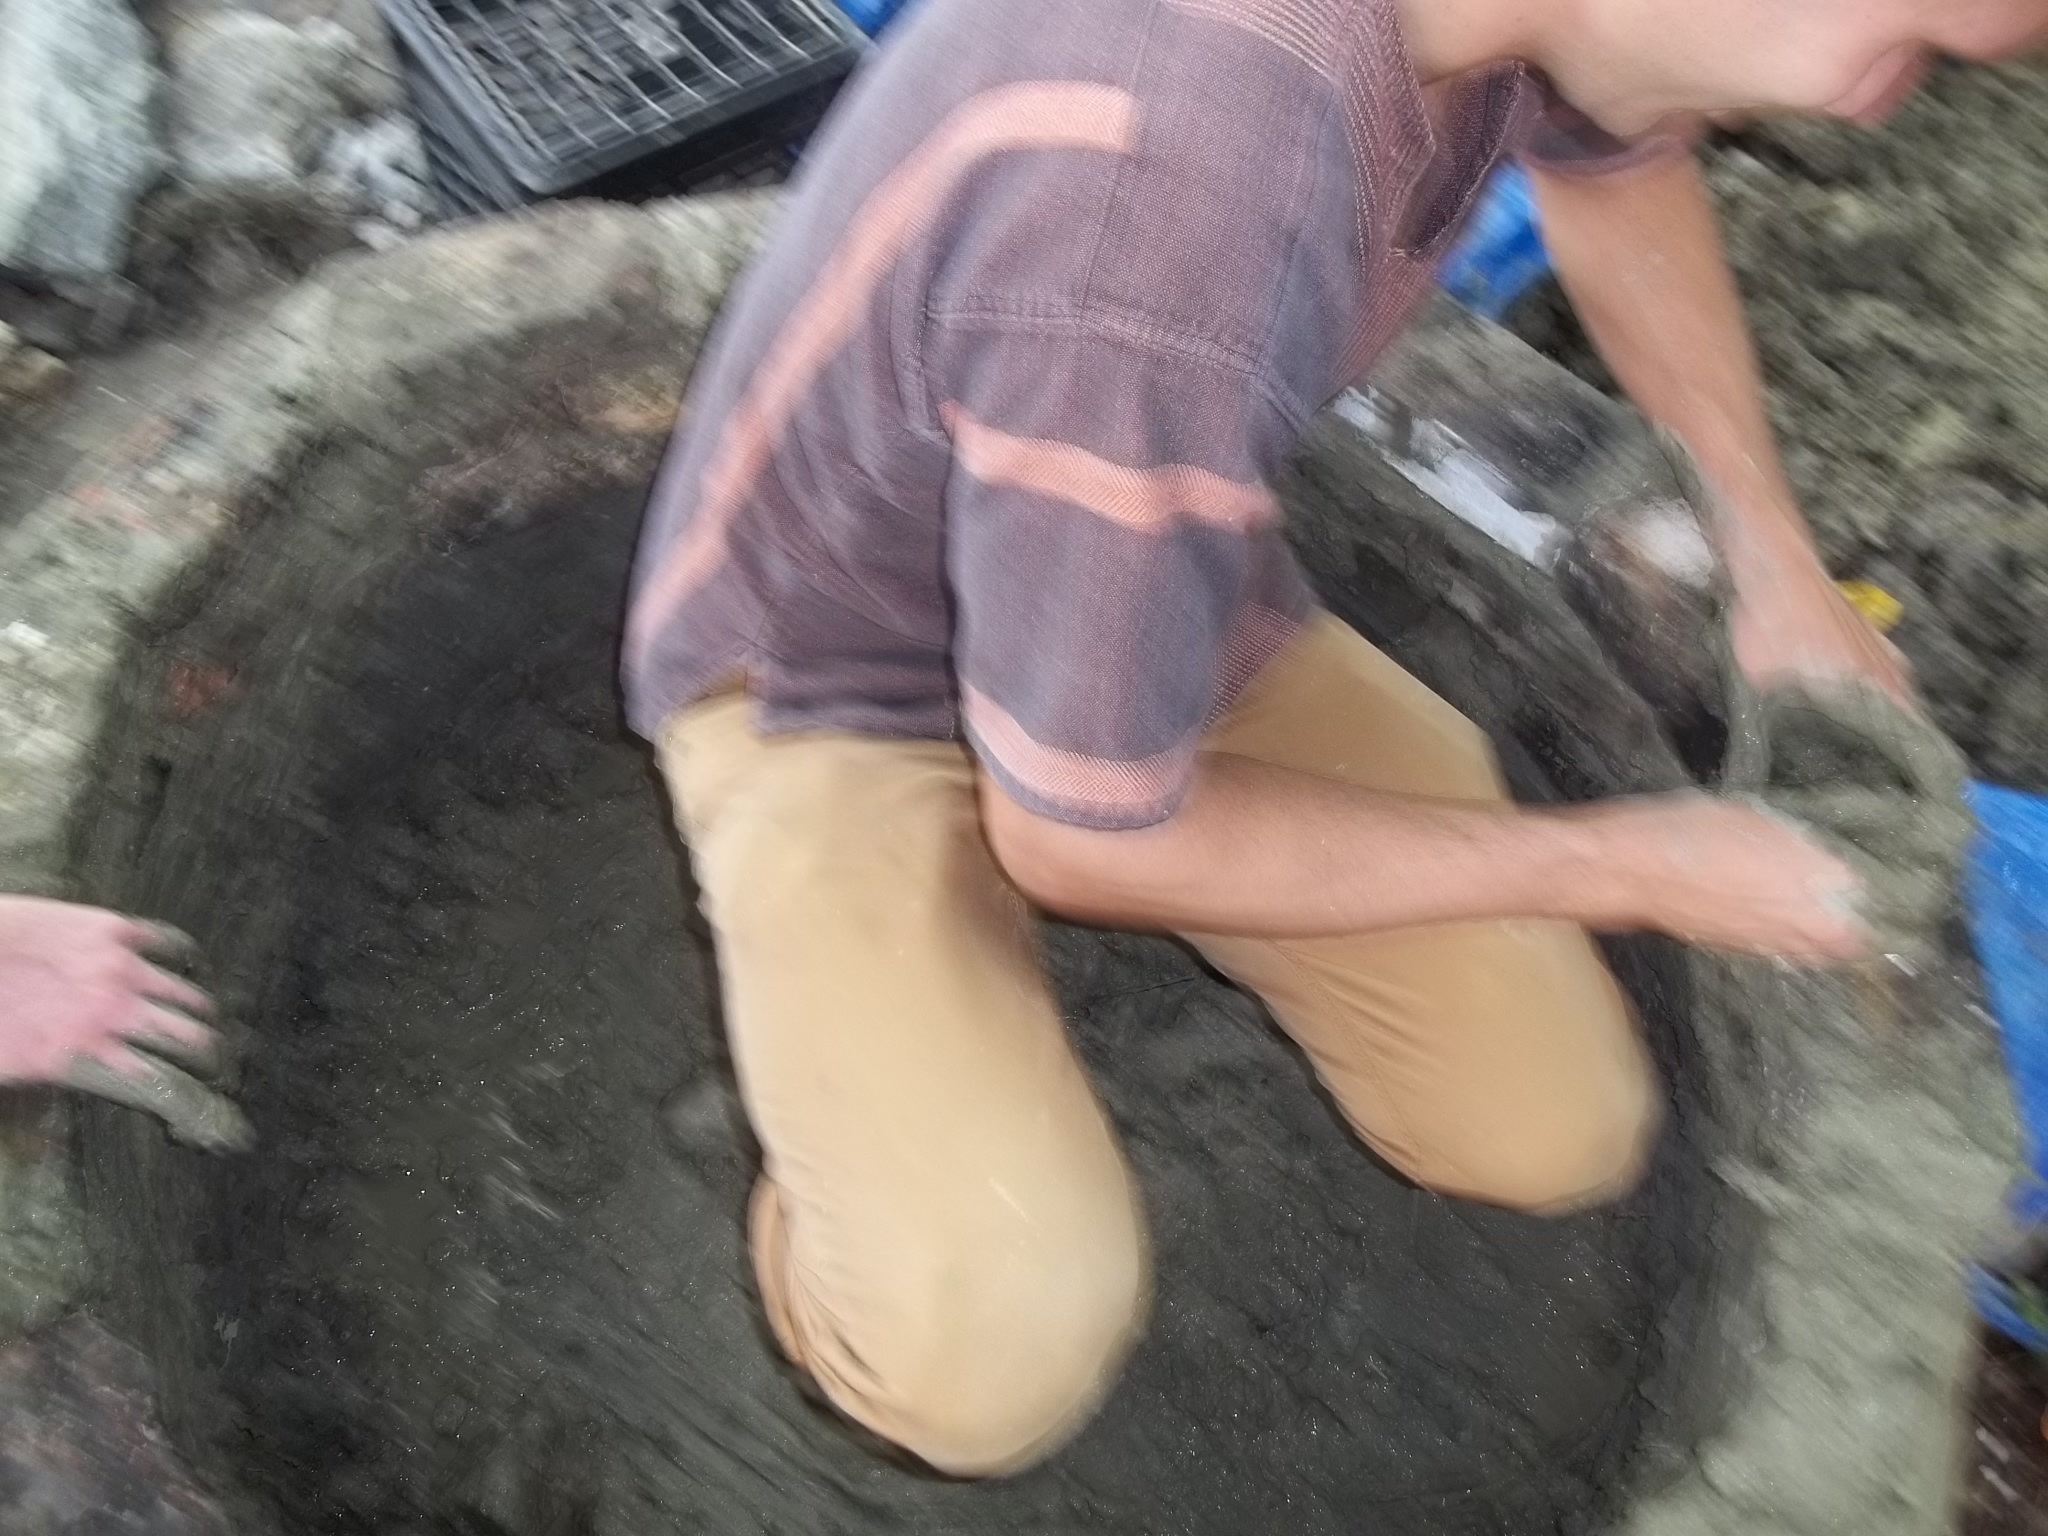
Once we rose above the lip of the column, we flatted it out with cob and carefully placed some thicker, more-square bricks that a friend of ours gathered he called “patio pavers”. For whatever reason someone knew (probably Stefan, b/c he read the book) that these types of bricks would be suitable for what would eventually be the floor of the oven itself. From here, we shape the dome, which is a sort of light-at-the-end-of-the-tunnel for this while project.
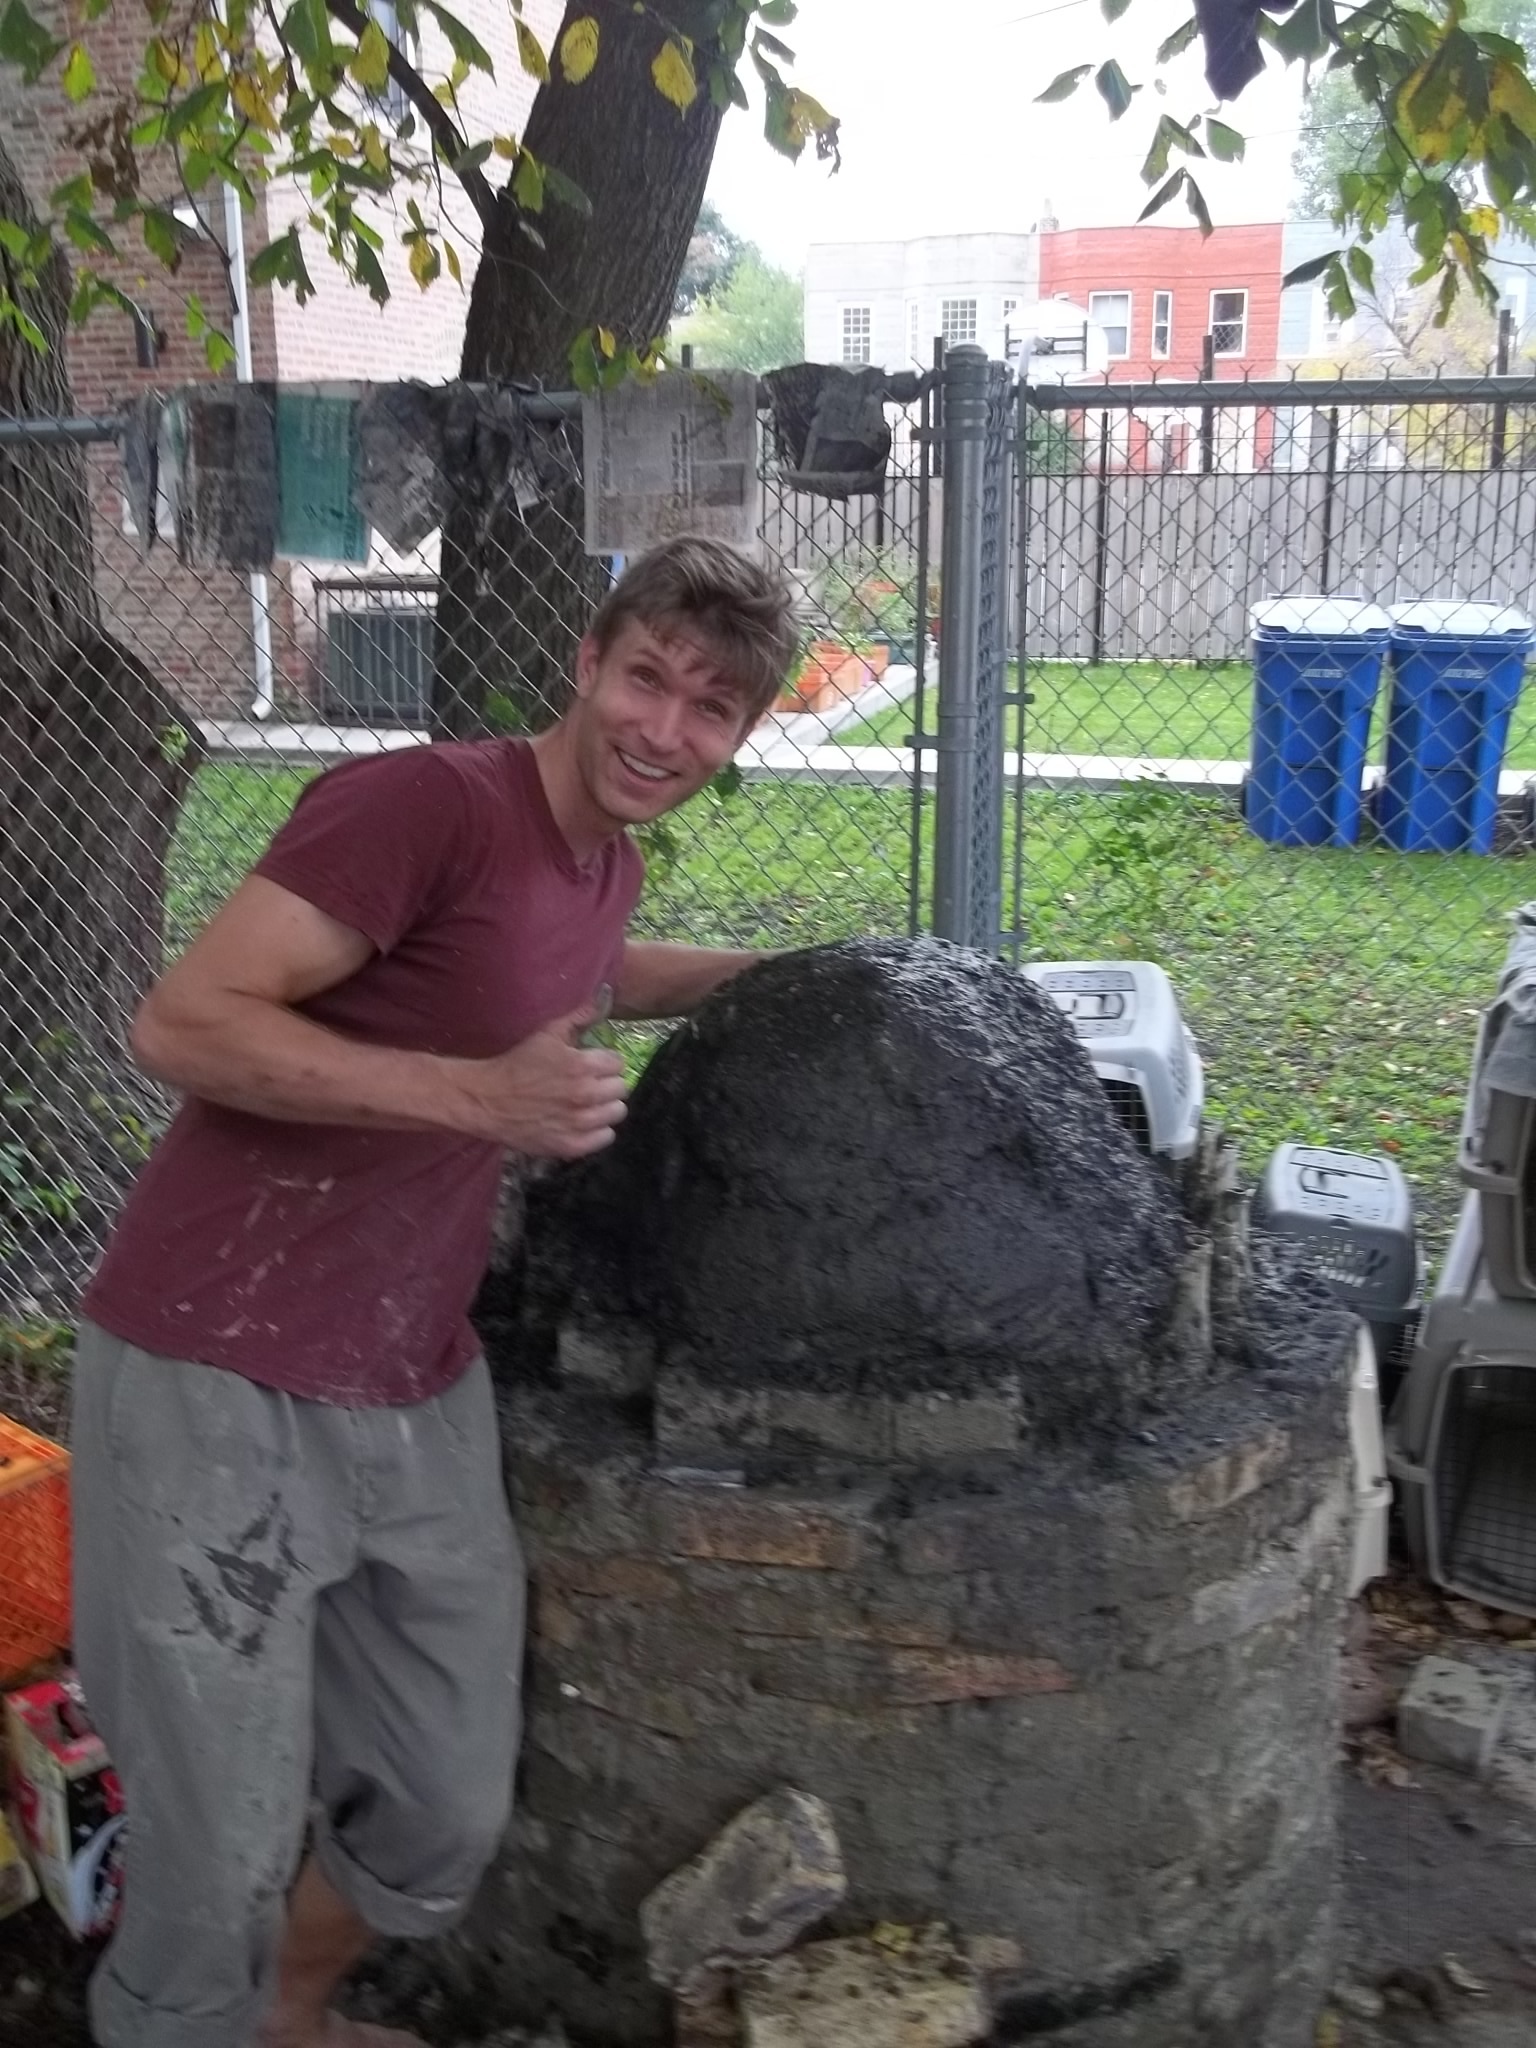 Make a pile of sand, which represents the negative space inside the eventual oven. We’re going to build a mound, then build cob over it, then wait for it to dry, then dig out sand and voilà you have an oven! We got a little lazy and didn’t want to fork out the necessary $20 for good sand and used dirt from the ground around us, to our eventual dismay. The issue arose when the dirt mound sunk down while the top cob dried. Perhaps dirt is more porous than sand and loses more volume as it dries? Really I have no idea why but the mound sunk when it wasn’t supposed to. We were supposed to use sand and we didn’t. It’s not super difficult to draw a few conclusions from this. Use sand.
We then covered the mound with yet another layer of cob, gave it a week to dry out and dug out the insides. That was it really. Not too bad, ya? If a group of monkeys in street clothes w/day jobs can build one you can too.
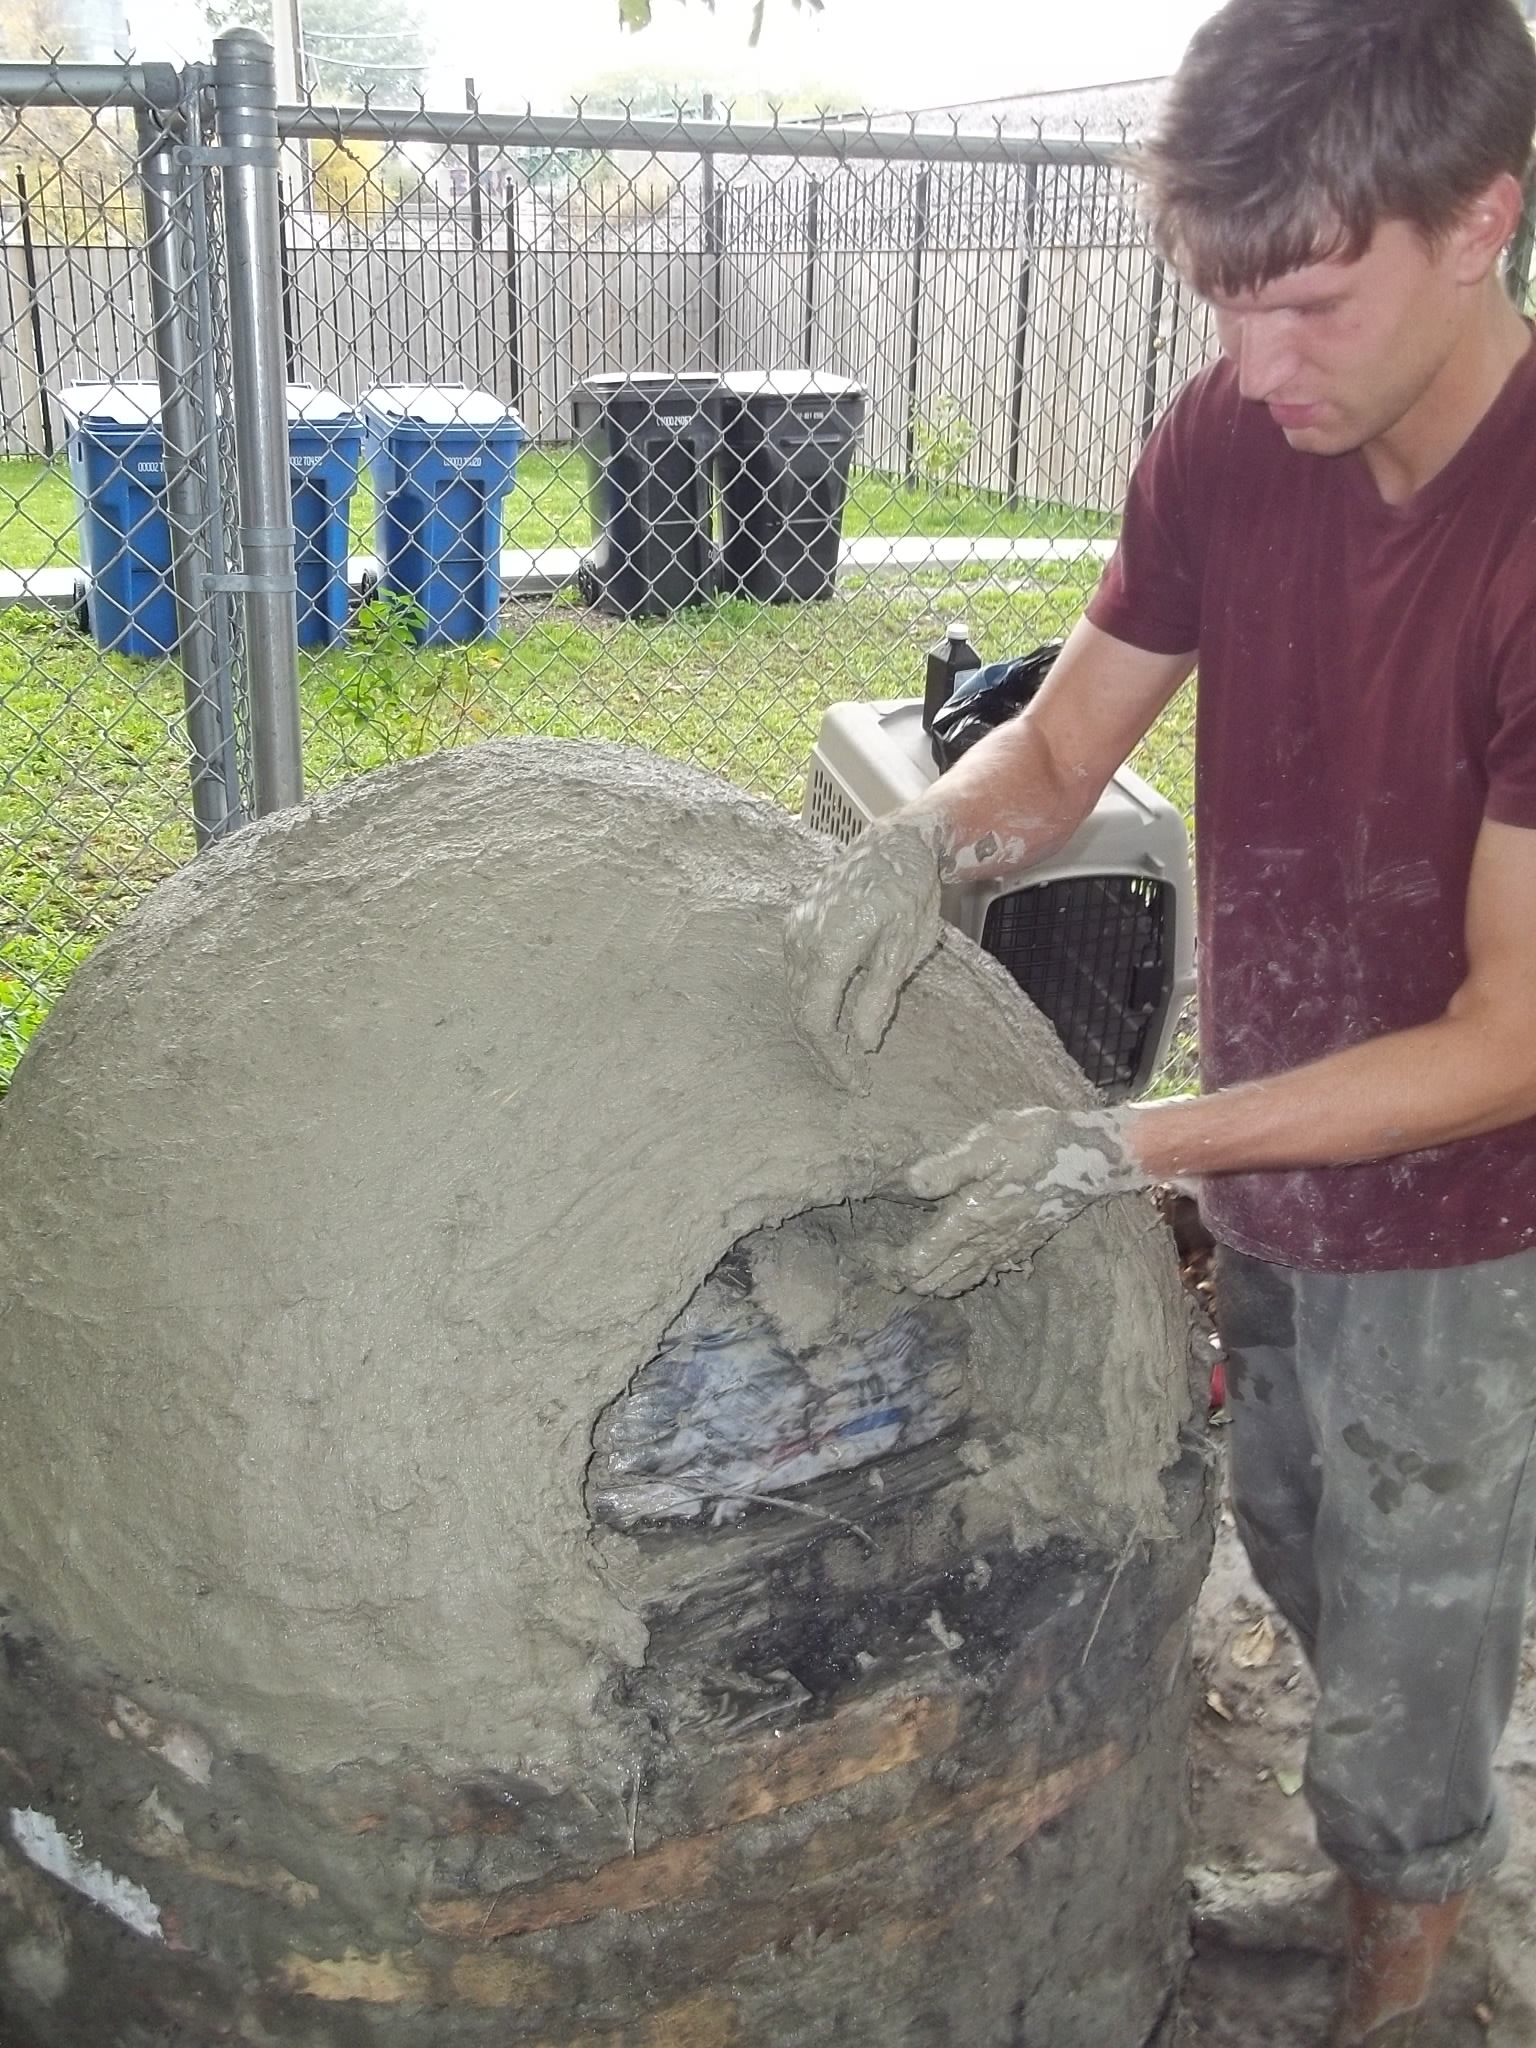
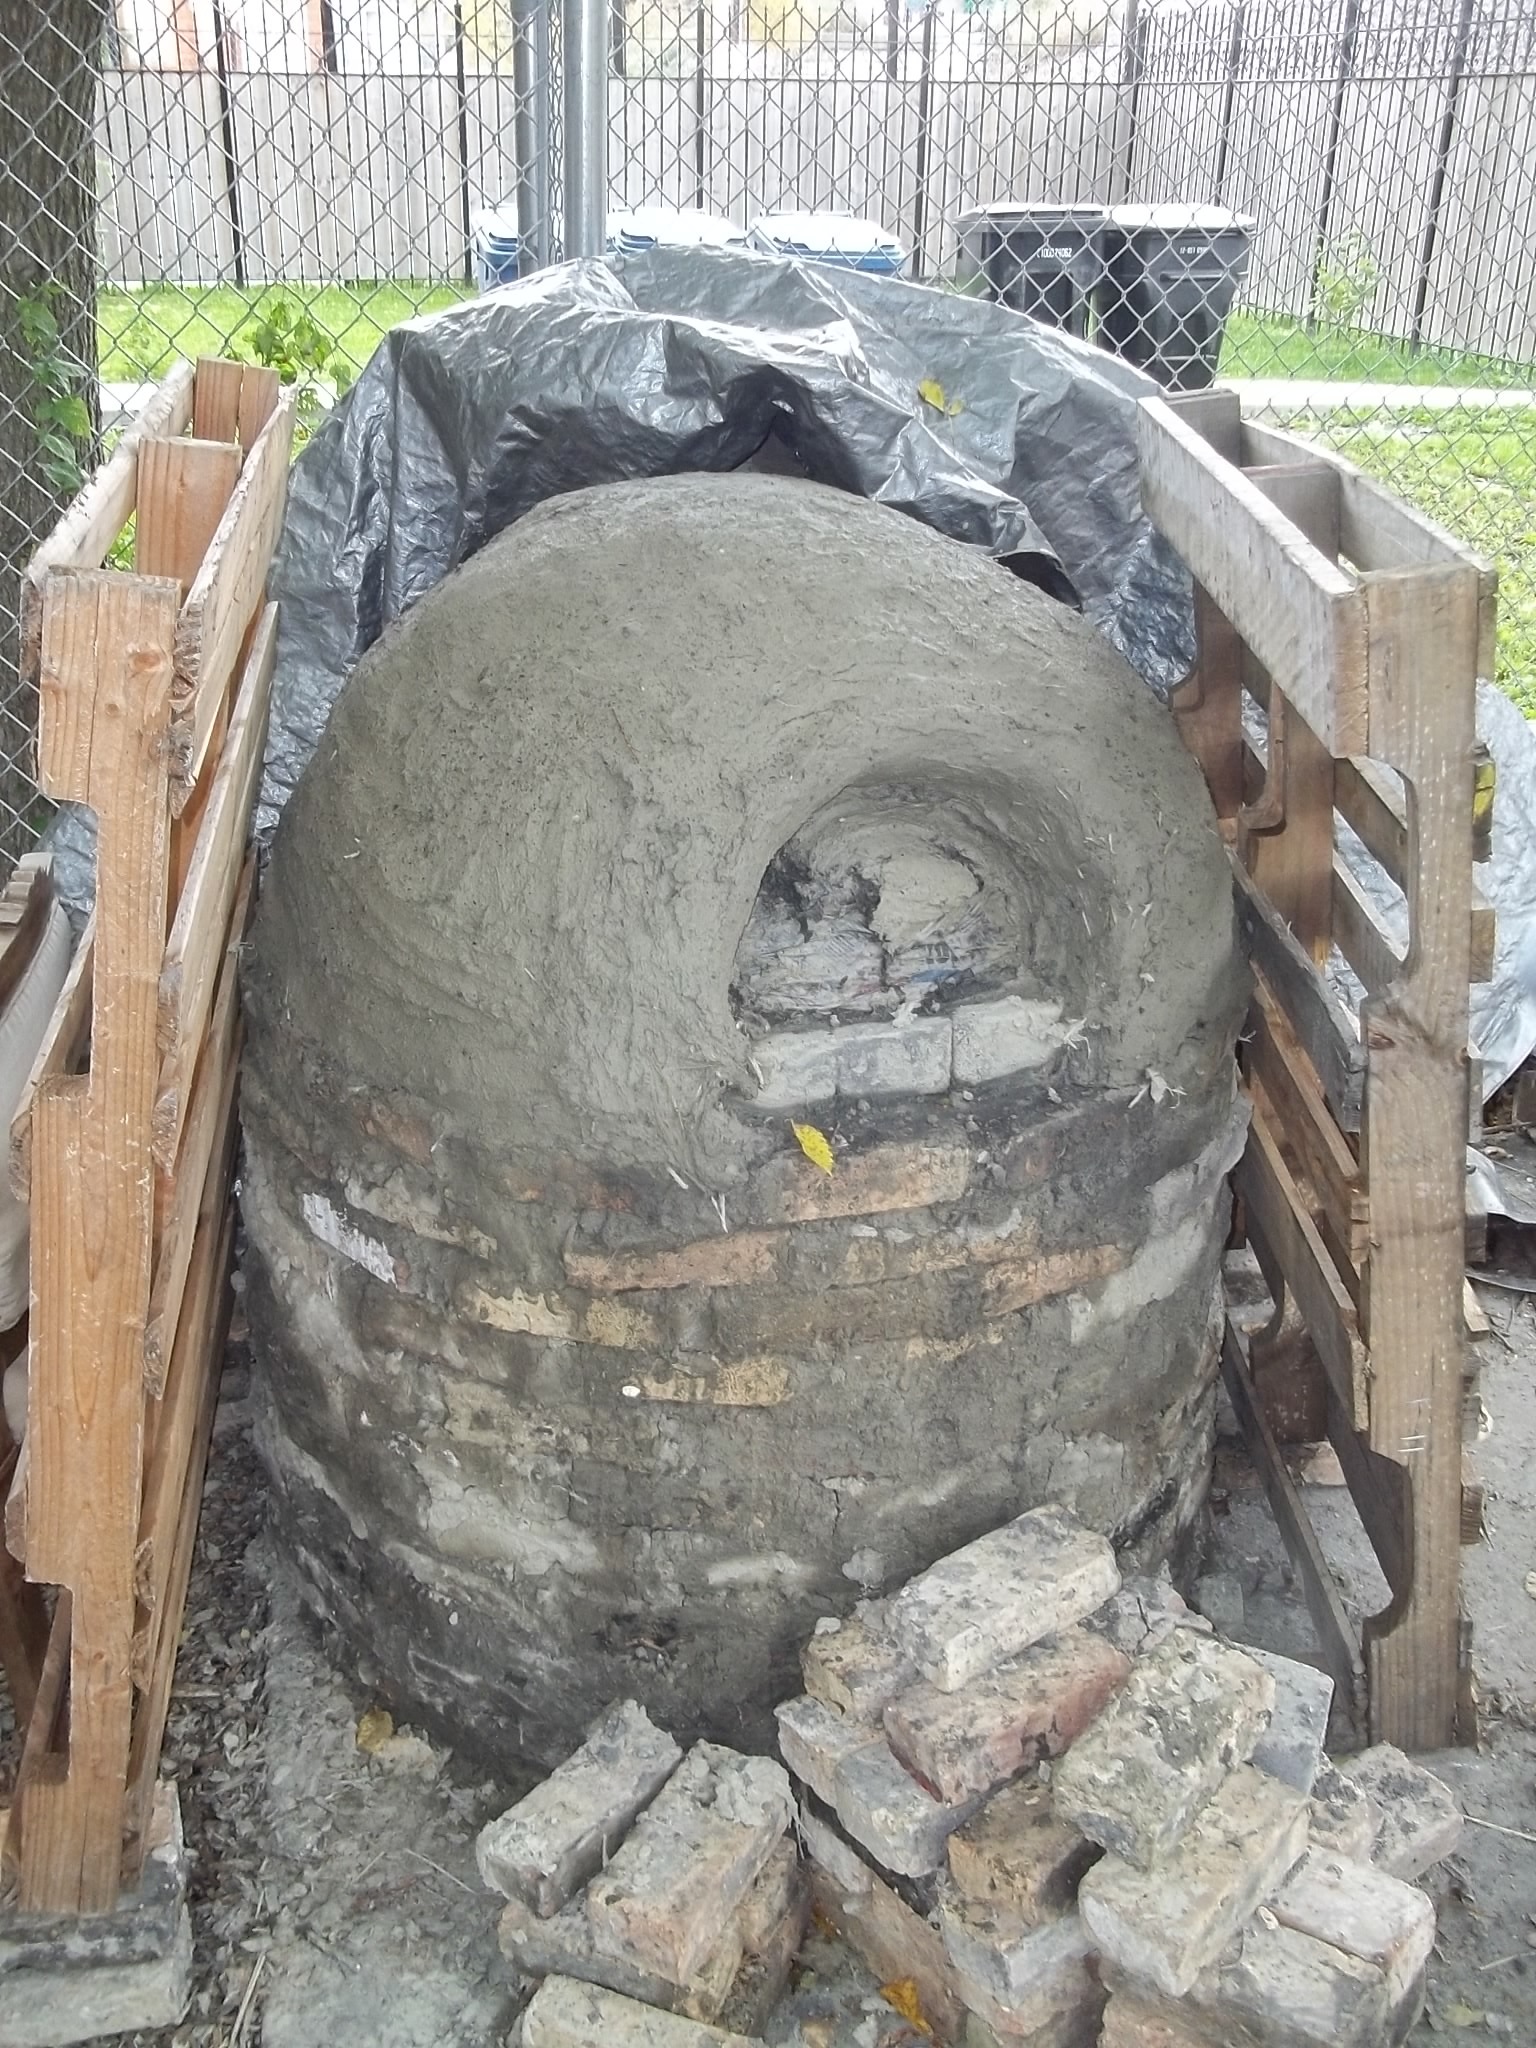
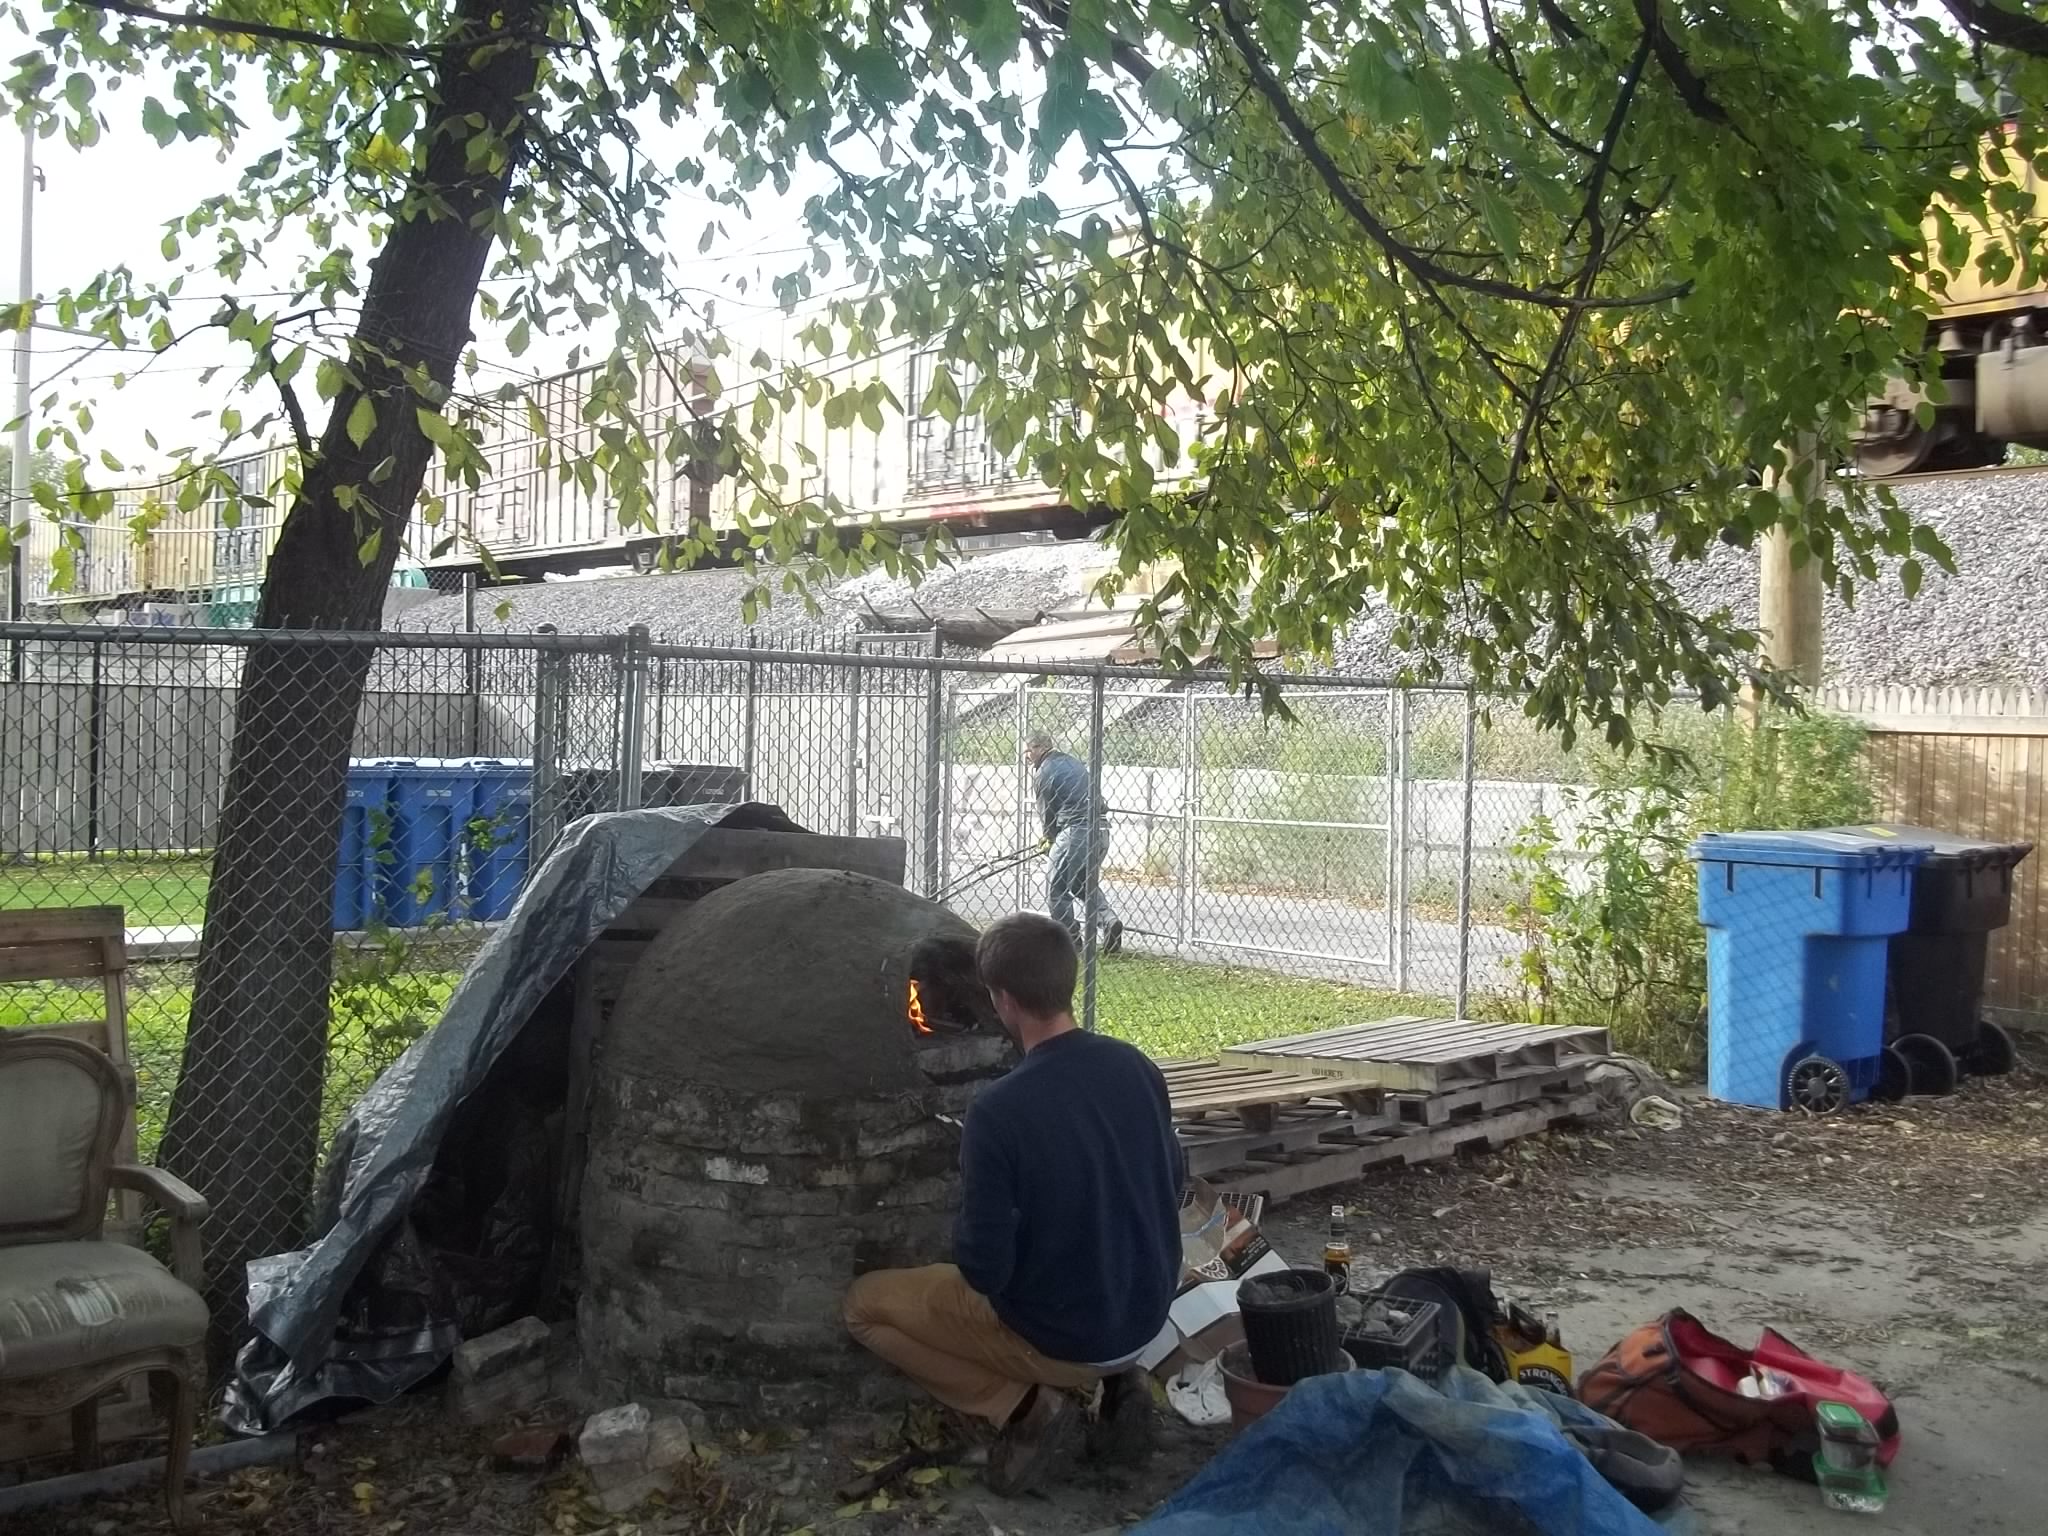
This I should have brought up earlier, but an oven must be more-or-less covered from the elements. If the cob were to be rained on it would get wet (big surprise, I know) and lose its form. This is the step we’re at now and currently a tarp lives over ours. I’m keeping my eye out of sheets of scrap metal to fashion up as a roof of sorts.
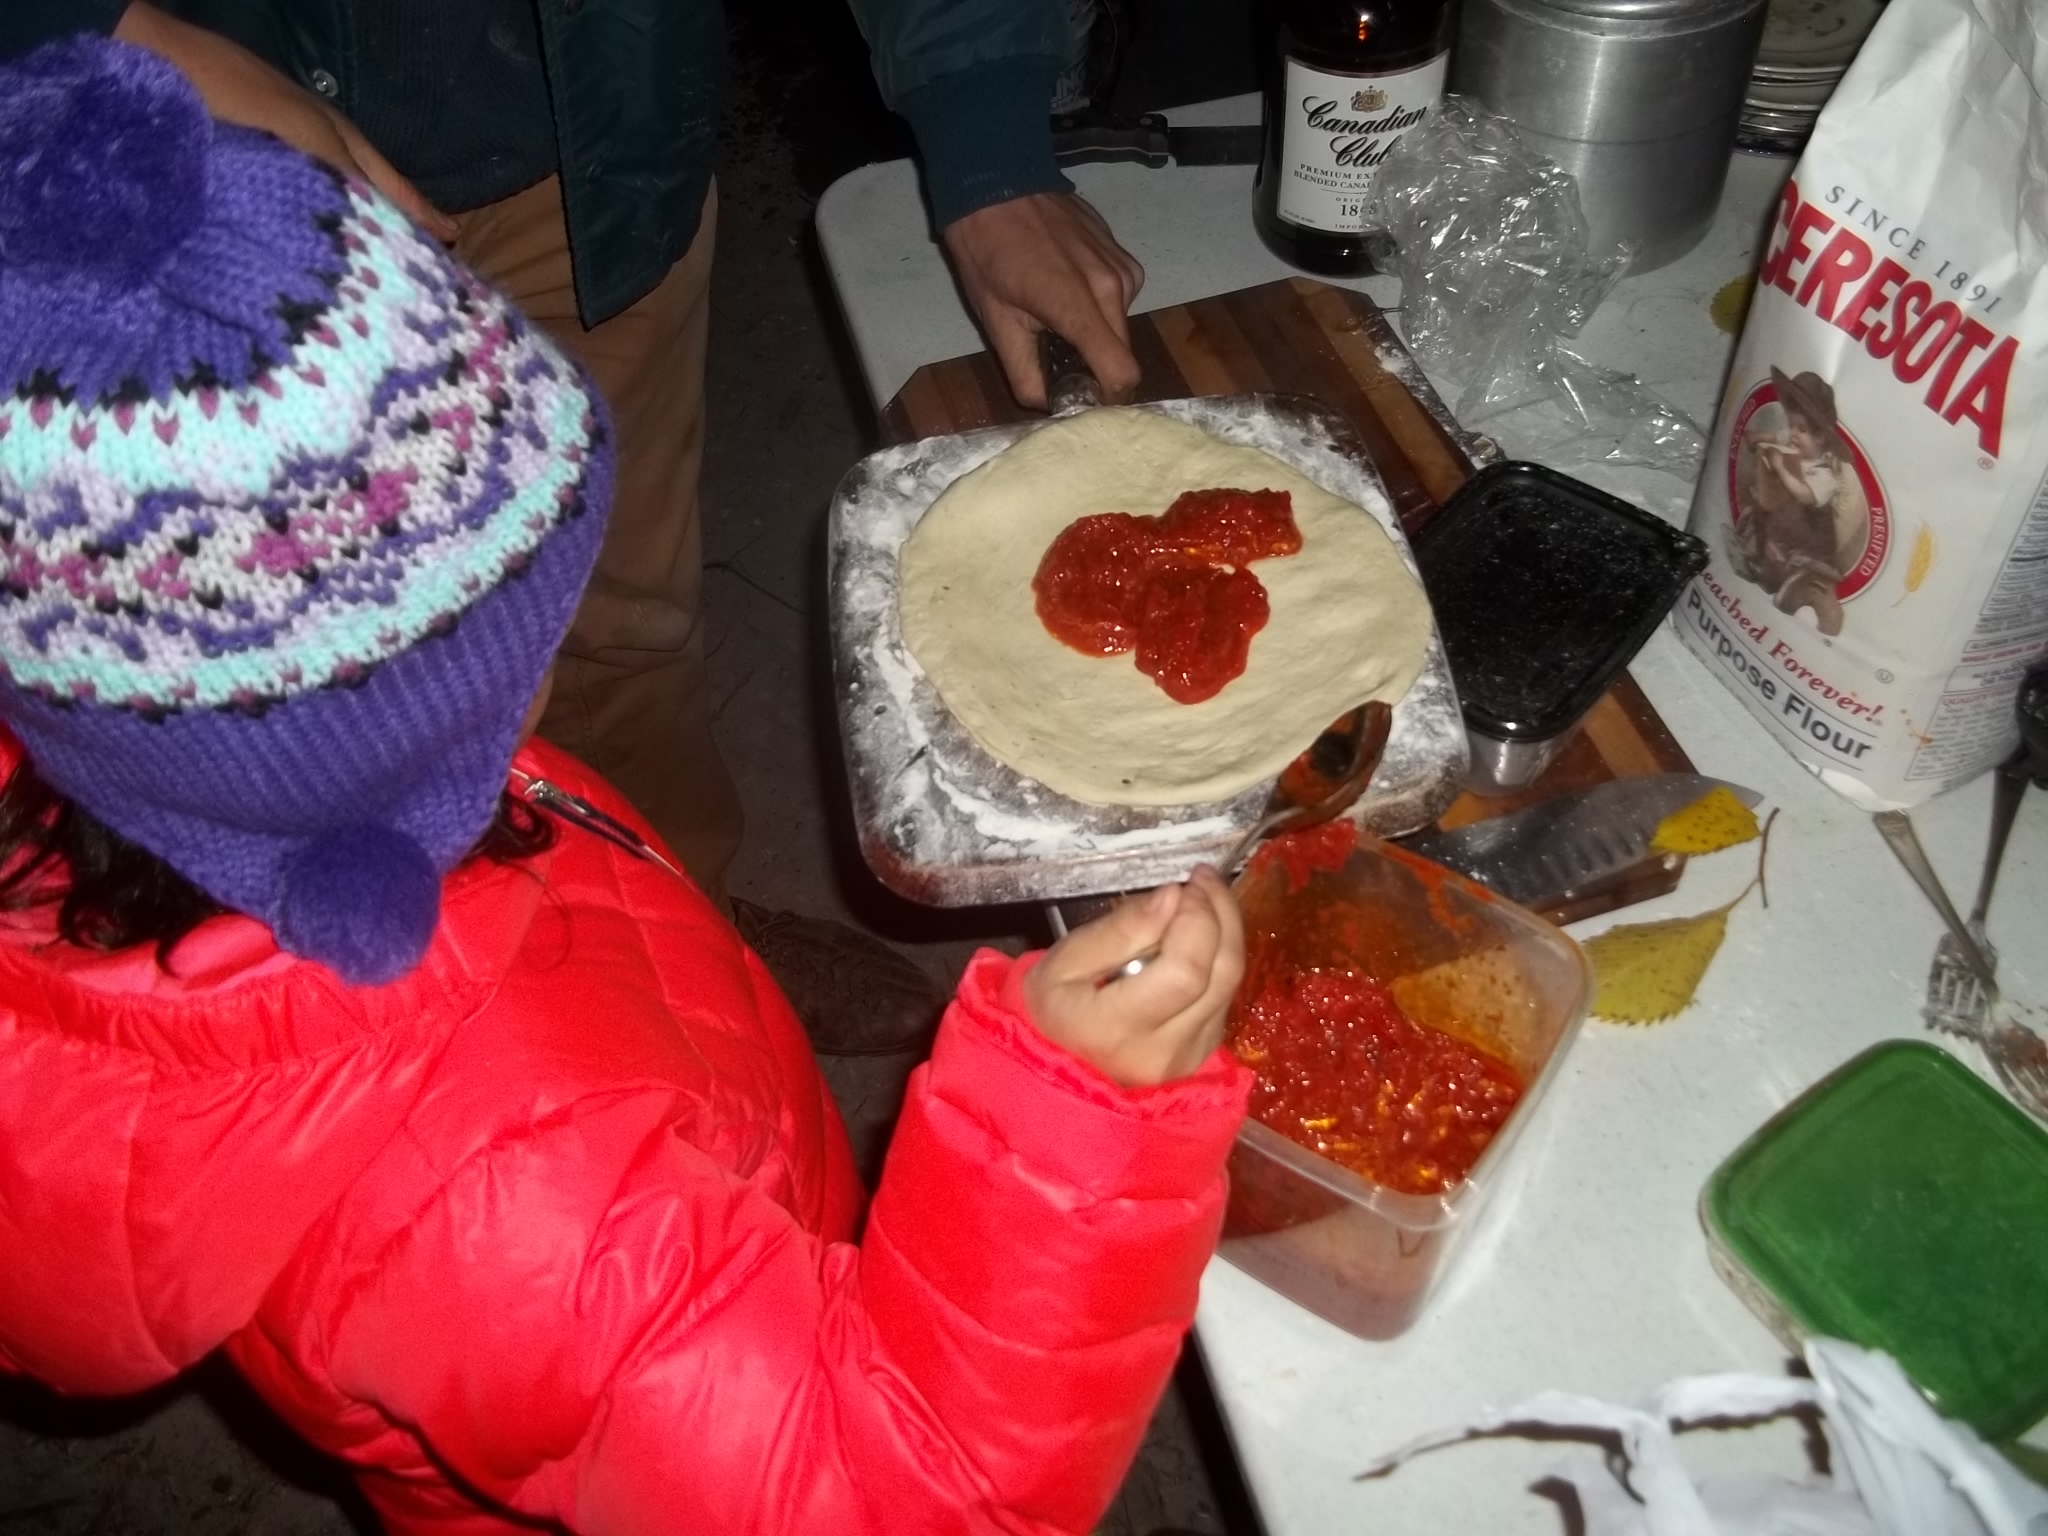
All that’s left to do is mix up a few doughs, invite friends over and cook some pizza. Add a little whiskey to that mix and it’s perfect. As a closer, we ended our night playing a game of truth or dare which culminated in Stefan jumping on and off a moving train out back on a dare. Like I said, he’s the captain of this ship.
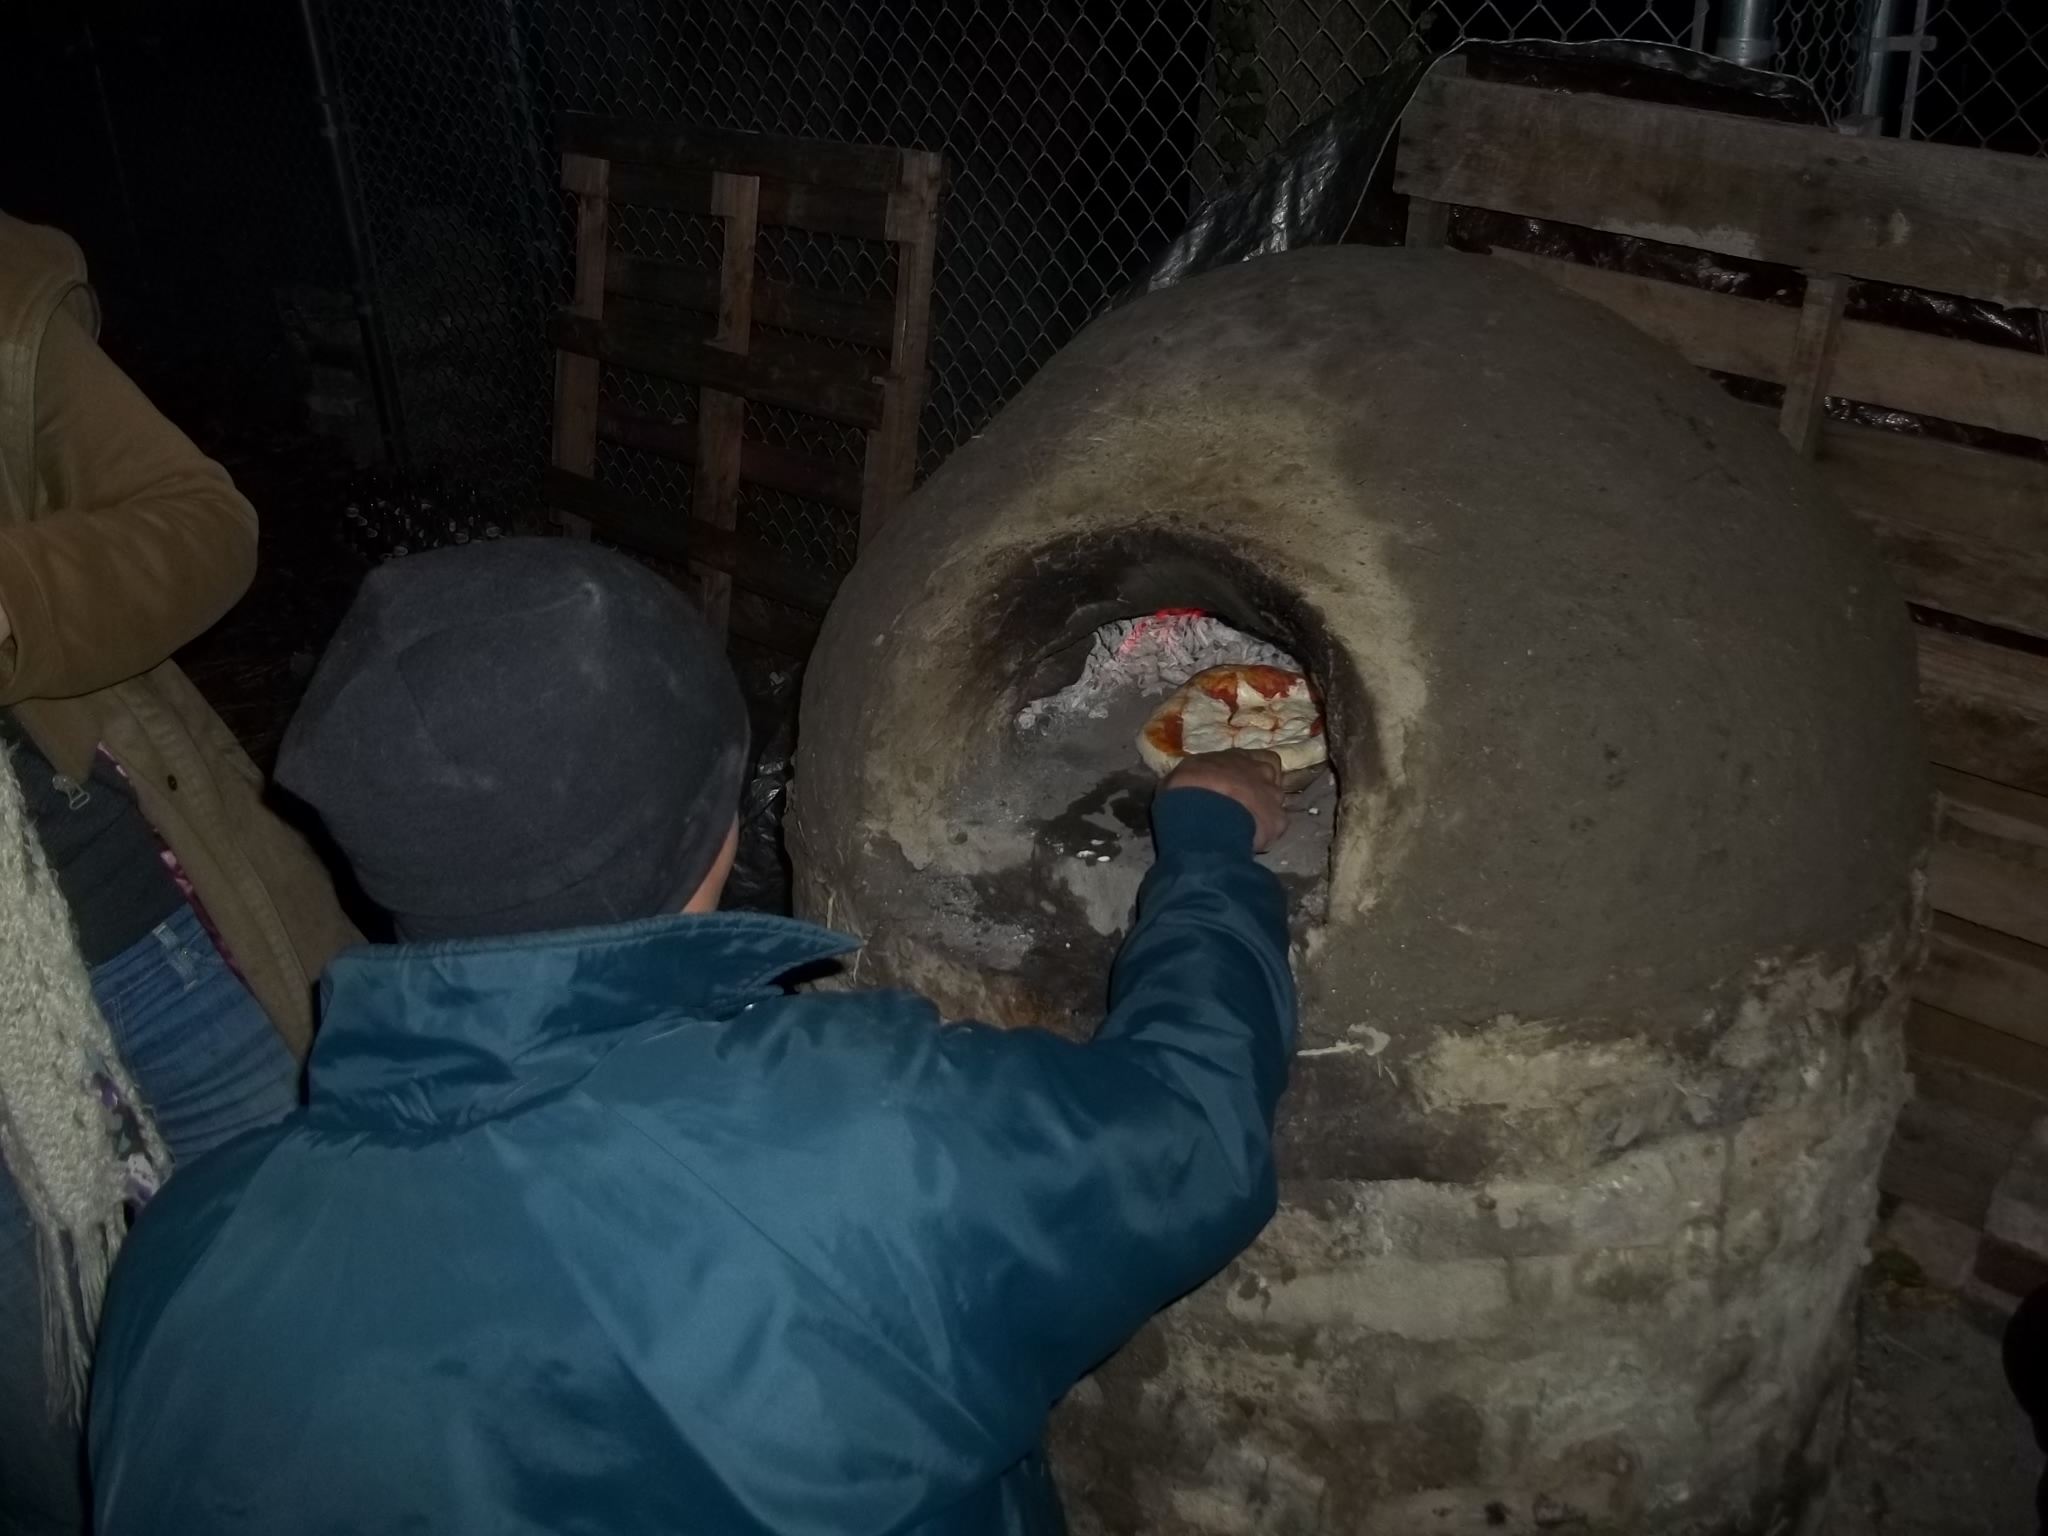
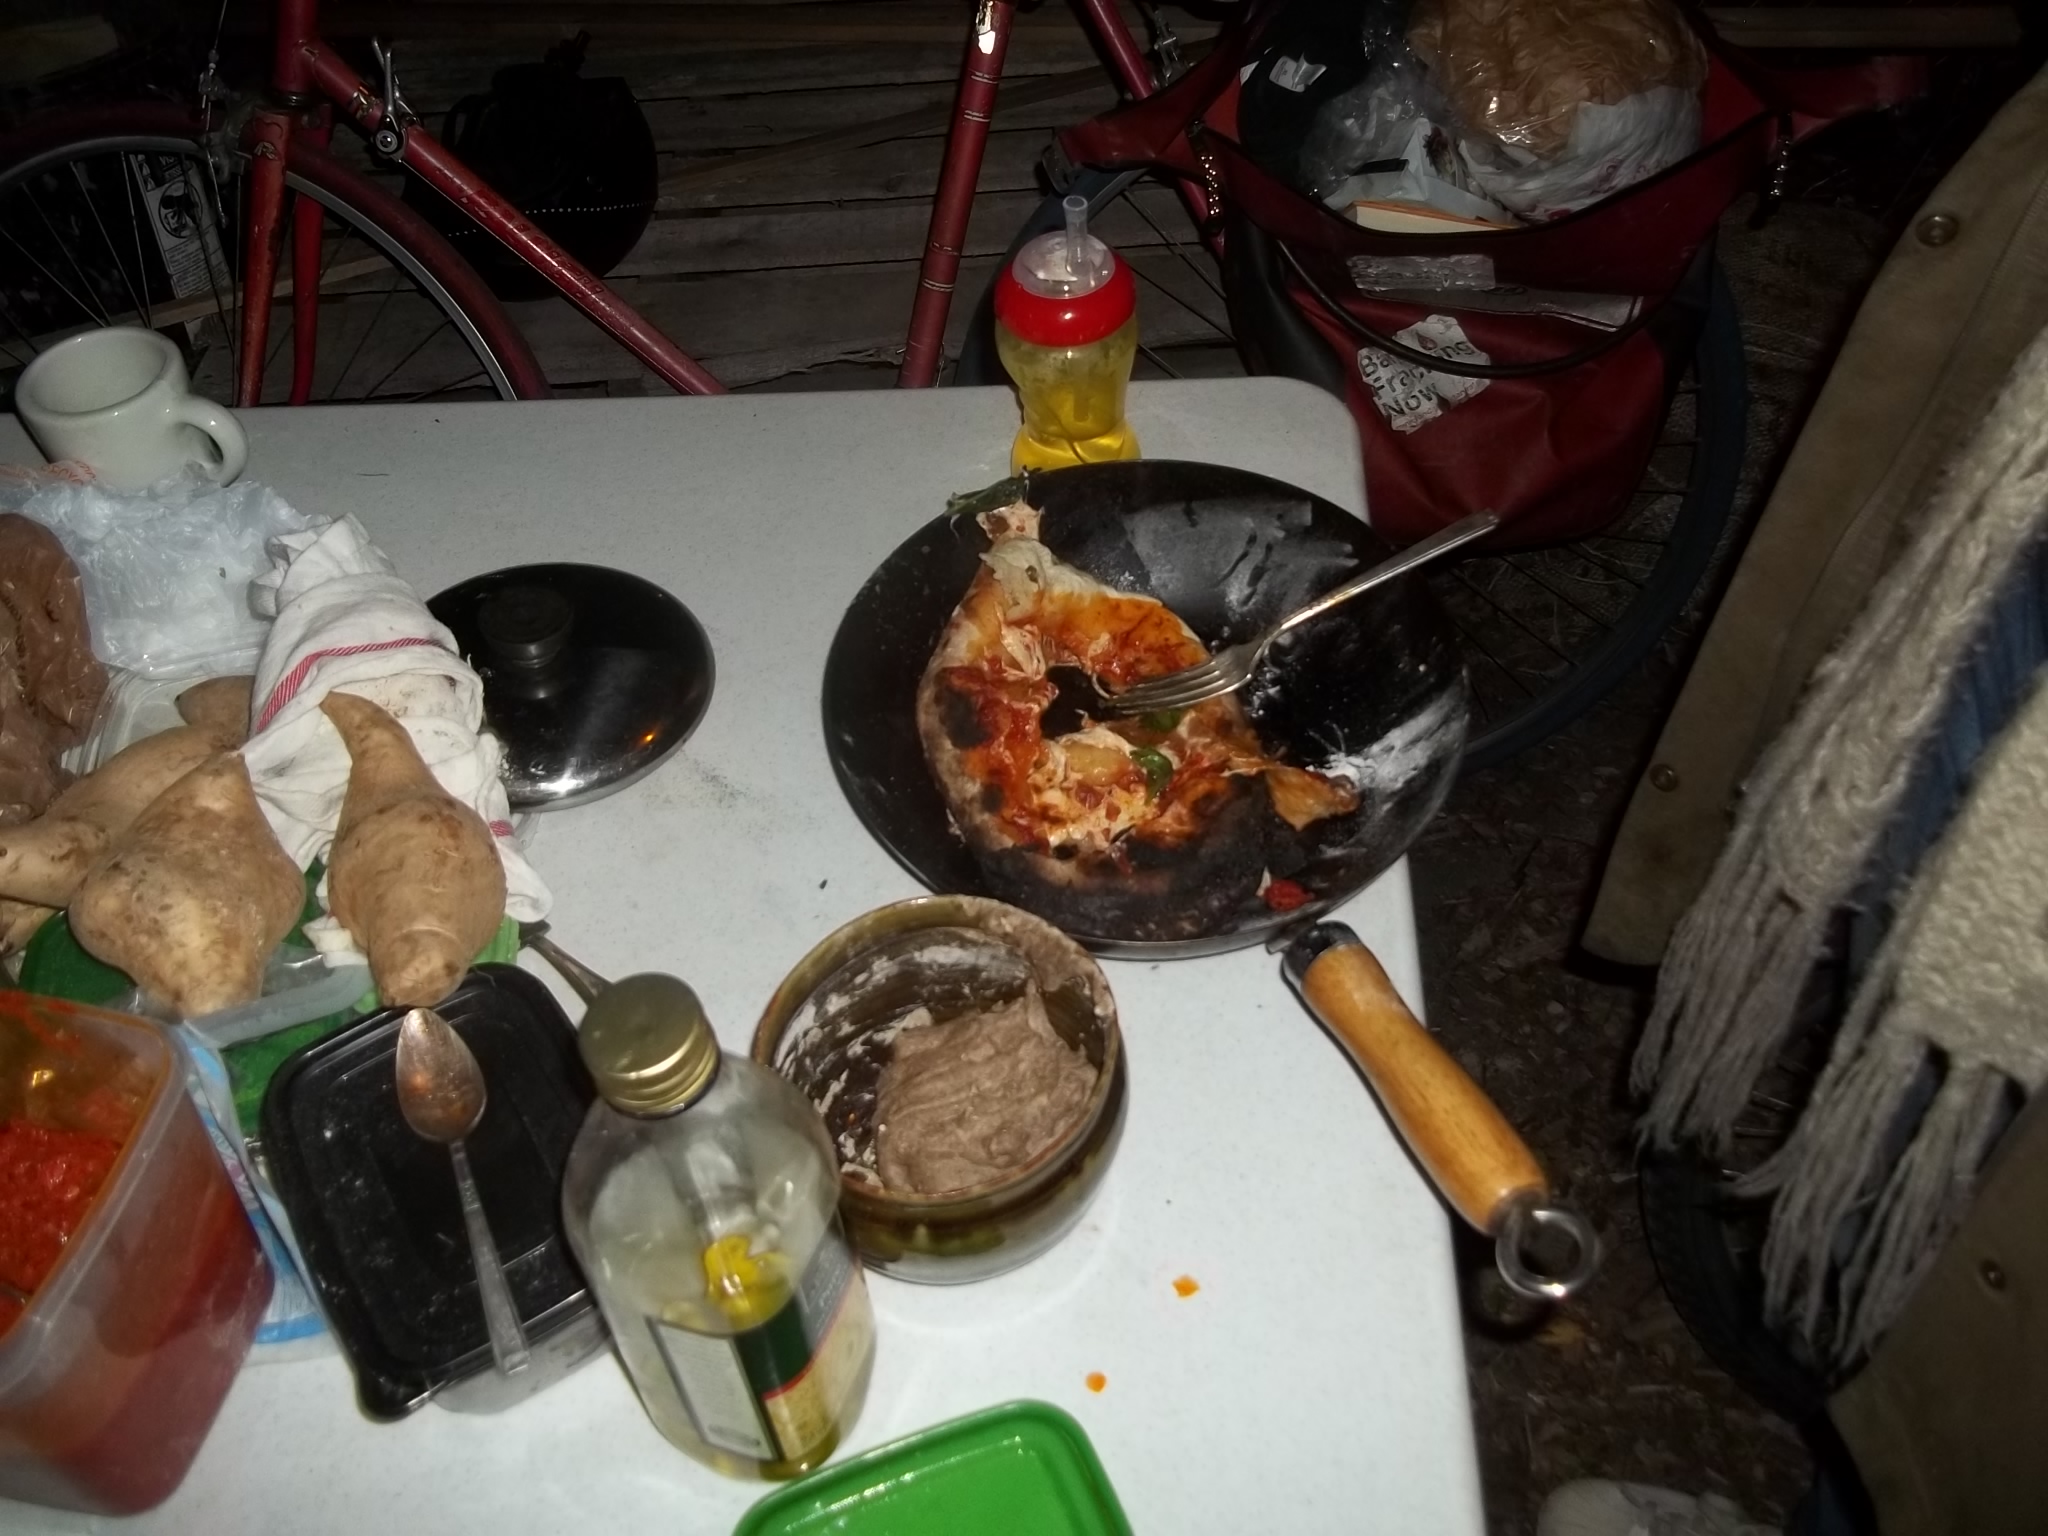

The oven ended up being a little smaller than we had anticipated, and we were only afforded enough space to cook little personal guys. Remember, use sand and not dirt and it won’t shrink on you. Anyway, the night was a huge hit and the cob oven a success. Thanks to new friend Bea for supplying the space and Stefan for trail-blazing.